Conker: Live & Reloaded – ‘Conquering Conker’ Live Walkthrough
Navigation:

Conquering Conker: Live & Reloaded
Conquering Conker Part 1: Beach Dead
Conquering Conker Part 2: Fortress Deux
Conquering Conker Part 3: Castle Tedistein
Conquering Conker Part 4: A Bridge Too Narrow
Conquering Conker Part 5: Three Towers
Conquering Conker Part 6: Doon
Conquering Conker Part 7: T.M.S Spamono
Conquering Conker Part 8: The Ditch
T.M.S. SPAMONO
This is a straightforward scenario. It plays a lot like an American football or Australian rugby match, but with lots of guns.
Grab the energy sphere (the “flag” so to speak) that spawns in the middle of the map, and run it into the enemy’s “goal” at the end of the corridor to score. Watch out for the chain gun turrets on both sides of the scoring zone! Take them out fast, and keep moving!
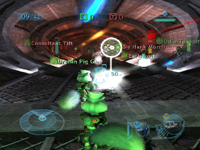
![]() Grab the energy sphere at the center of the map…
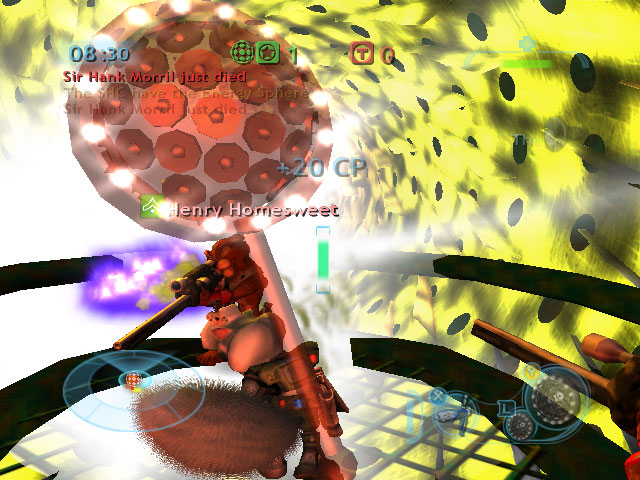
Grab the energy sphere at the center of the map…![]() …and run it into the enemy goal to score!
…and run it into the enemy goal to score!
Halfway down the corridor, there are also two locked airlocks with re-spawning upgrade spheres. If your team has a Sneeker, hack the door with a Hacking Device to gain a spawn point closer to the Energy Sphere spawn point, as well as easy access to upgrades for your team.
A skilled Long Ranger is strong on this level. The Spamono is the best place to practice your skills with a sniper rifle against Dumbots, because your field of fire extends all the way down the map. Grab an upgrade as soon as possible—the extra zoom level it provides gives you an excellent view all the way to the end of the corridor. To steady your aim, press the B button once to kneel, or twice to go prone. Pull and hold the right trigger to charge your shots, pick a target, and punch a hole in his furry little head. Use Depleted Uranium shots to destroy enemy turrets. (You can change your ammunition after you pull and hold the left trigger.) If your own turrets are destroyed (and they likely will be), their platforms become excellent sniping positions.

![]() Don’t forget to hack at least one of the neutral airlocks for easy
Don’t forget to hack at least one of the neutral airlocks for easy
![]() access to upgrades and a better spawn point.
access to upgrades and a better spawn point.
The best defense against skilled snipers is the Smoke Grenade, an upgrade available to the Demolisher after he grabs an upgrade sphere. Smoke grenades block line-of-sight, which makes aiming difficult for a Long Ranger. Demolisher rockets liberally fired at Long Rangers (or into the enemy’s half of the corridor in general) help keep Long Rangers off- guard as well.
The Sneeker is useful on this map for hacking either or both of the two neutral airlocks halfway down the hallway. Hack an airlock as quickly as possible to control the spawn point within it, which provides easier access to the energy sphere and to upgrades. Controlling an airlock also saves newly spawned team mates a long run back to the battlefield.
Use the Demolisher’s rockets to take out enemy turrets as quickly as possible. The Demolisher’s Berserk mode also makes him one of the fastest soldiers in the game, making him an excellent candidate for carrying the Energy Sphere. Use the Demolisher’s Berserk attack to slow down nearby enemies by knocking them prone, which buys you time to score.
While you’re running the Energy Sphere down the hallway, try “bunny hopping” down either side of the map. Bunny hopping makes you a more difficult target, and the sides of the map offer a small measure of cover from enemy fire.