Conker: Live & Reloaded – ‘Conquering Conker’ Live Walkthrough
Navigation:

Conquering Conker: Live & Reloaded
Conquering Conker Part 1: Beach Dead
Conquering Conker Part 2: Fortress Deux
Conquering Conker Part 3: Castle Tedistein
Conquering Conker Part 4: A Bridge Too Narrow
Conquering Conker Part 5: Three Towers
Conquering Conker Part 6: Doon
Conquering Conker Part 7: T.M.S Spamono
Conquering Conker Part 8: The Ditch
CASTLE TEDISTEIN
Two cable cars connect both sides of this map. The fiendish Tediz commander, Kriplespac, is creating a monstrous Machine Tediz inside his castle, but he needs plenty of electricity to complete his experiment. To win, you’ll need to take control of the four electrical masts (in sequence) and rush into the enemy’s “charge up” chamber. The Tediz want that power to complete that experiment, while the squirrels would rather overload the animation chamber and blow up the castle.
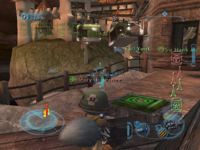
![]() Defend objectives and blast cable cars.
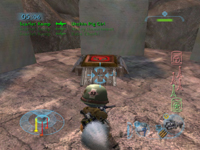
Defend objectives and blast cable cars.![]() Enter a dark doorway to find this capture point.
Enter a dark doorway to find this capture point.
The SHC should turn on the cable cars by standing on the button nearby. Either the SHC or the Tediz can take control of an objective (one of the masts) by standing on the glowing button near it. Two objectives are on the SHC side of the map, and two are on the Tediz side of the map. (One button on each side is hidden behind a black doorway, so look carefully.) You get 20 points each time you seize control of an objective, and your team gets points each time an objective is stolen from the opposing team. When you control all four objectives, rush into the enemy’s charge up chamber to finish the scenario.
Castle Tedistein is a great map for camping, particularly on the platforms surrounding the cable cars. Long Rangers and Demolishers usually can score plenty of kills from a distance while enemy soldiers are hopping on and off those cars. The landing platforms by the cable cars are excellent locations for planting Earthguards.
If the SHC has captured the four objectives, they can spawn in the Crypt near the Tediz final charge up chamber. This means they won’t need to risk crossing the chasm in the cable car. Watch the icons at the right hand of the screen to see who has control of which masts.
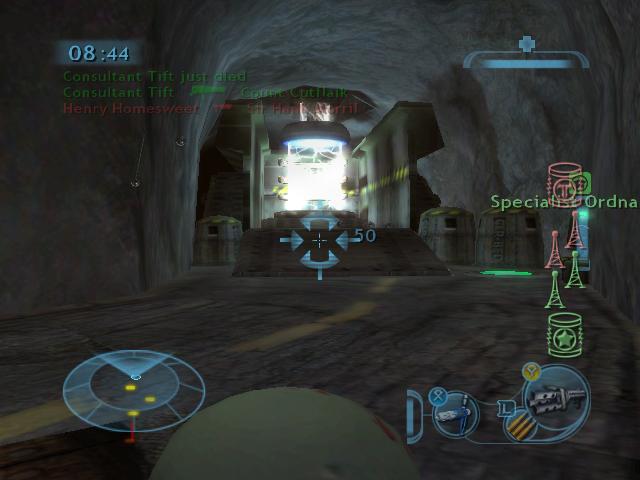
![]() Control objectives, then take the final chamber!
Control objectives, then take the final chamber!
Thermophiles paired with Demolishers can make it very difficult for enemies to get on or off the cable cars. Blast incoming cable car passengers with the Demolisher’s rockets (and don’t forget those incendiary napalm grenades!), and have a Thermophile buddy nearby to hose down survivors with his Sinurator. (After grabbing an upgrade, Thermophiles can also use the Fauster to fire into the cable cars from long range.) Don’t forget to plant an Earthguard nearby for added firepower. If you’re being delayed by Earthguards near the cable cars, take them out with Long Ranger shots (using Depleted Uranium) or disable them with Magnova grenades.
One of the objectives on the Tediz side of the map is hidden behind a darkened doorway. That makes it an obvious place to camp, particularly for a cloaked Sneeker. While on defense, she can stalk and destroy a soldier going for the objective and then quickly reclaim the objective if necessary. On offense, her cloaking ability is useful for sneaking up on enemy-controlled objectives.