Conker: Live & Reloaded – ‘Conquering Conker’ Live Walkthrough
Navigation:

Conquering Conker: Live & Reloaded
Conquering Conker Part 1: Beach Dead
Conquering Conker Part 2: Fortress Deux
Conquering Conker Part 3: Castle Tedistein
Conquering Conker Part 4: A Bridge Too Narrow
Conquering Conker Part 5: Three Towers
Conquering Conker Part 6: Doon
Conquering Conker Part 7: T.M.S Spamono
Conquering Conker Part 8: The Ditch
BEACH DEAD
In this scenario, the SHC (Squirrel High Command) is landing on a beach defended by Tediz. Their objective is to destroy two blockades on the beach, blast through the door leading to the Tediz commander’s bunker and eliminate the commander before time runs out. Each time the SHC destroys an obstacle, they gain a new spawn point closer to the bunker. This is a timed scenario, so the SHC must finish as quickly as possible. The Tediz play defense and fight to delay the SHC. When time runs out, the two teams switch sides. The team completing the mission in the least amount of time wins.
Tips & Tricks
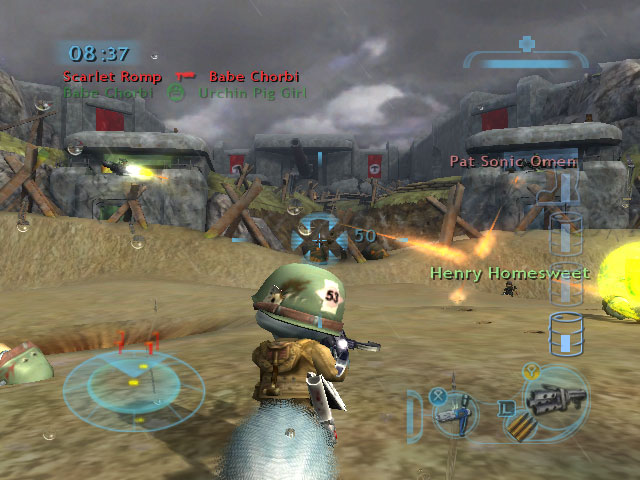
![]() Chaaaaaarrrggge!
Chaaaaaarrrggge!![]() Focus fire on the first barricade, but keep moving.
Focus fire on the first barricade, but keep moving.
In this scenario, the SHC Squirrel High Command) must assault the Tediz fortress from a beach landing. The SHC’s objective is to destroy two blockades on the beach, destroy the door leading to the Tediz commander’s bunker, and then eliminate the commander before time runs out. Each time the SHC destroys an obstacle, they gain a new spawn point closer to the bunker. This is a timed scenario, so the SHC must finish as quickly as possible. The Tediz play defense and fight to delay the SHC until time runs out.
On offense, you’ll need to decide whether to focus your firepower on enemy barricades or defend other soldiers who can do more damage than you. Any soldier can pitch in destroying an obstacle, but Demolishers and Thermophiles are especially good at destroying barricades. Look for locations where you can continually unleash damage without taking enemy fire.
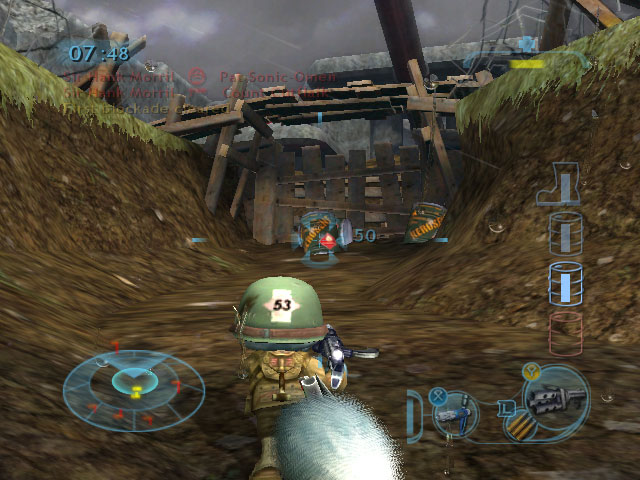
The Tediz must defend their blockades from the advancing SHC. Take advantage of the chain gun emplacements for as long as possible, fire into the trenches from the bridges overhead and use Long Rangers to pick off unsuspecting rodents. Well-placed mines, grenades, and Earthguards are great for slowing the enemy advance.
As soon as the SHC Long Ranger lands on the beach, he has an excellent vantage point for taking out defenders. Pull and hold the right trigger to charge your shots. To steady your aim, press the B button once to kneel (or twice to go prone). From the beach, you can fire at both gun turrets, as well as soldiers perched on top of those bunkers. Use 7.62mm bullets for enemy soldiers and D.U. (Depleted Uranium) shots for the turrets and barricades. (You can change your ammunition by pulling and holding the left trigger and selecting it with the left thumbstick.)
The Demolisher’s Berserk attack knocks nearby enemy soldiers prone. Jump into a mob of advancing SHC and use this attack in conjunction with some Thermophiles to break up an SHC attack. (It might cost you your life, but you can put a serious hurt on the opposition.) Outside the last two obstacles, your Berserk attack also can delay enemy units, whether they’re trying to deal damage against barricades or hunting soldiers who are.
No matter if you’re attacking or defending, the Thermophile’s Sinurator and the Sneeker’s Sabre work well in the trenches, because their best attacks are up close and personal.
The Grunt is equally effective on offense or defense. On offense, use Dum Dum bullets against obstacles. If you grab an upgrade, you’ll get the grenade-throwing Hogster. The Hogster works great against barricades or when fired from above into tight groups of enemy soldiers.
Virtually all grenades are useful in the trenches of Beach Dead, but they can be just as dangerous to you and your team mates, so use them carefully. Flash Bang grenades are great for stunning groups of enemies outside a barricade. The Sneeker, Long Ranger, and Grunt all receive the Flash Bang grenade after grabbing an upgrade sphere. The Long Ranger, Sky Jockey, and Sneeker gain the Magnova grenade, which is especially useful for disabling defensive turrets. When you’re holding a grenade, change the type of grenade you’re using by pulling and holding the left trigger, and making a selection with the left thumbstick.
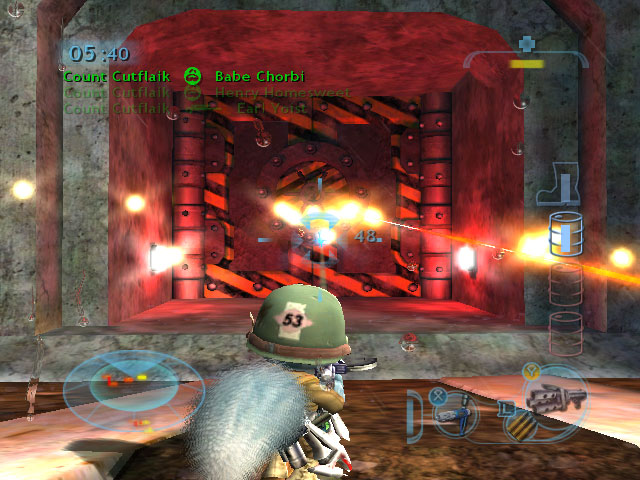
![]() Destroy the door to the command chamber.
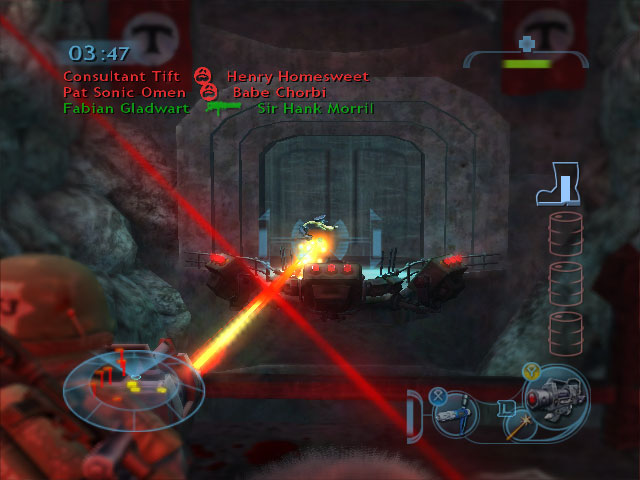
Destroy the door to the command chamber.![]() Kill the Tediz Commander–watch out for attacks from above!
Kill the Tediz Commander–watch out for attacks from above!
The Sneeker has a spy device called a Snoopa that helps her see around corners. If she’s hidden while storming the beach, she can take a quick peek ahead to reveal where the Tediz have set up ambushes. The Snoopa can also be detonated near enemy turrets, blockades and soldiers. This tactic can be time-consuming, but it’s useful in multiplayer if your team can coordinate an attack plan. The Long Ranger’s Infravision can also spot enemy targets, but it’s not as precise as the Snoopa – it shows direction, but not distance.
In the final bunker, the Tediz have an excellent sniper nest defended by chain guns. They can repeatedly slaughter squirrels who are firing on the Tediz Commander. For the SHC, a well-aimed shot into that nest with a Bazooka is an excellent response. Also consider using the Demolisher’s smoke grenade to obscure sniper shots.