Conker: Live & Reloaded – ‘Conquering Conker’ Live Walkthrough
Navigation:

Conquering Conker: Live & Reloaded
Conquering Conker Part 1: Beach Dead
Conquering Conker Part 2: Fortress Deux
Conquering Conker Part 3: Castle Tedistein
Conquering Conker Part 4: A Bridge Too Narrow
Conquering Conker Part 5: Three Towers
Conquering Conker Part 6: Doon
Conquering Conker Part 7: T.M.S Spamono
Conquering Conker Part 8: The Ditch
DOON
Doon plays a lot like the beach landing on Beach Dead. The SHC must blast through a series of three gates, and then destroy the Panther King’s trapped body by shooting him in the heart. The Tediz are on defense, and must prevent the SHC from succeeding until time runs out.
Near each gate is a glowing orb. The SHC needs to focus their firepower on the orb to bring down the barrier. This is a timed mission, so the SHC must move and attack quickly, and the Tediz must work to delay and hinder the SHC as much as possible.
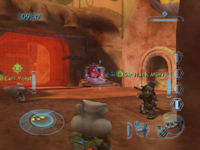
![]() Focus firepower on the glowing orbs to bring down barriers.
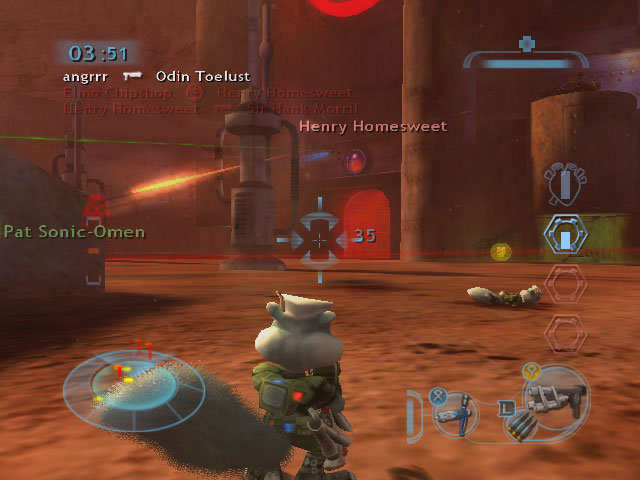
Focus firepower on the glowing orbs to bring down barriers.![]() Keep moving! Cover is scarce.
Keep moving! Cover is scarce.
Playing offense, SHC tactics depend on focusing enough firepower on the gates to destroy them quickly while part of your team watches your back and defends against enemy soldiers. As with the Beach Dead scenario, it helps to have Demolishers and Thermophiles (using their acid attack or the Fauster) focus on the barriers, while the rest of the team defends them. Grunts (using Dum Dum bullets) and Long Rangers (using Depleted Uranium rounds) are also effective against the gates, although Long Rangers tend to be easy targets in this map because there’s precious little cover for them.
A few well-placed Earthguards make storming the gates and penetrating the Tediz base difficult, so Tediz should make ample use of defense turrets. The SHC should be ready to use Magnovas to disable defensive Earthguards and turrets, buying the team some time to destroy them. Another solid attack strategy is to take out the chain gun emplacements before blasting through the gates, but it takes time, and time is the crucial component of this battle. (Make sure your team is organized if you use this plan.)
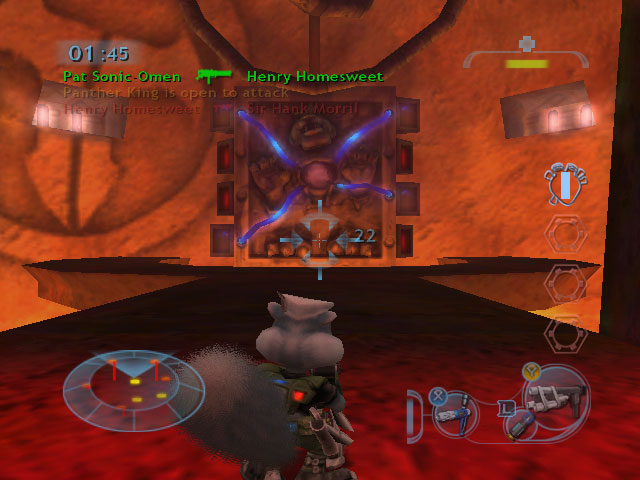
![]() After breaching the final gate, enter the chamber and destroy
After breaching the final gate, enter the chamber and destroy
![]() the Panther King by shooting him in the heart!
the Panther King by shooting him in the heart!
When you’re defending the Panther King, figure out which attackers are doing the most damage to the gate and focus on taking them out. When you’re online, a good team of attackers will try to waste Tediz time dueling with squirrels that aren’t focused on that door. Gun platforms are helpful on most of the gates, but be prepared for soldiers who find cover against that firepower.
This is another map with lots of running, so again, consider stowing your weapon and running Open Handed to cross the map more quickly. The Demolisher’s Berserk ability is especially useful for covering distance quickly. If you’re playing defense, use your Berserk attack to temporarily disrupt groups of SHC attackers shooting your barriers.