Conker: Live & Reloaded – ‘Conquering Conker’ Live Walkthrough
Navigation:

Conquering Conker: Live & Reloaded
Conquering Conker Part 1: Beach Dead
Conquering Conker Part 2: Fortress Deux
Conquering Conker Part 3: Castle Tedistein
Conquering Conker Part 4: A Bridge Too Narrow
Conquering Conker Part 5: Three Towers
Conquering Conker Part 6: Doon
Conquering Conker Part 7: T.M.S Spamono
Conquering Conker Part 8: The Ditch
THREE TOWERS
Your goal in this battle is to capture three towers and destroy the enemy base. This map requires good planning and teamwork to achieve victory. You can tell who controls each tower by the color of the light beam streaming from the top (red for the Tediz, green for the SHC). There is a door at the base of each tower with an up arrow on either side. Run through this door and leap on the giant capture button in the center of the room. Stand on a capture button long enough and you will capture it, changinging a red enemy tower to a white neutral tower, and finally to a green controlled tower. (Look at the icons on the right-hand side of the screen to determine who controls which towers.)
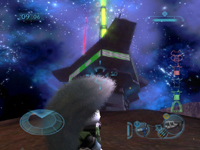
![]() You must control all three towers.
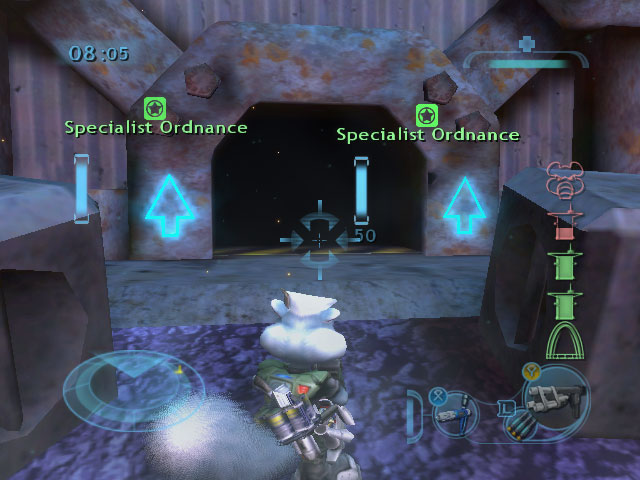
You must control all three towers.![]() Enter each tower…
Enter each tower…
After a tower is captured, your team only retains control of it for a limited time. (It slowly reverts back to neutral. Standing on the capture point does not stop this process.)
After a team controls all three towers, the enemy shields drop, and their control center becomes vulnerable. By firing into a control center, you can destroy the objective inside the enemy’s base (either the generator in the SHC base or the “disturbing lookin’ thing” in the Tediz base).
Seizing control of all three towers and unleashing enough damage to destroy the enemy base quickly takes a lot of teamwork. If you can’t hold all three towers, capture as many towers as you can and focus on kills. If you can’t score points for completing objectives, you’ll need to compensate with a high body count to drive up your score. In the event both teams fail the mission objective, victory is determined by total points (C.P.’s) scored by the team.
Be careful running towards capture buttons. Above each doorway, there’s a ledge that is a perfect spot for camping a tower and defending the all-important capture button. There is also a third level to each tower. Run from the capture-button room to the walkway outside and then around a corner to another doorway. The walkway is an excellent vantage point for snipers. Each tower also has gun emplacements on the roof, useful for targeting soldiers on the roads and Steeds in the sky.
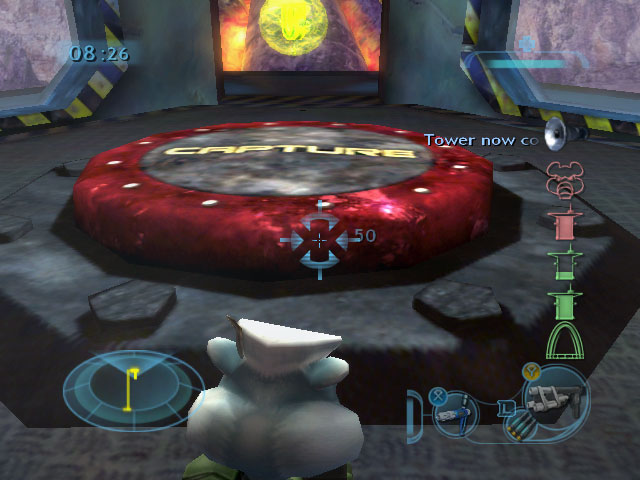
![]() …and stand on the capture button until you control the tower.
…and stand on the capture button until you control the tower.![]() The enemy’s shield doors open when all towers are captured,
The enemy’s shield doors open when all towers are captured,
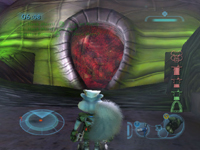
![]() leaving the enemy control center vulnerable to attack!
leaving the enemy control center vulnerable to attack!
The Sky Jockey can travel very quickly in a Steed from his team’s base to the furthest tower. This makes him an excellent support character when his team is seizing the third and final tower. After landing by the doorway on the ground or the roof on top, the Sky Jockey can rush to the capture button in a matter of seconds. When all three towers have been seized by his team, a quick Sky Jockey can mount his Steed and fire rockets into or around the enemy base.
Rushing from one side of the map to the other is time-consuming, so use vehicles wisely. Some vehicles carry passengers, so hitch a ride with a friend when possible. Right before you take control of all three towers, try deploying a vehicle that can transport passengers to the final gate so you can bring more firepower against the final objective. For the SHC, having a Mule in position over the Tediz base when their shields drop is extremely useful, because a few bombs is all it takes to destroy the artifact (the “disturbing lookin’ thing). The Tediz have it tougher, since they must enter the SHC base and unload on the SHC generator.