Conker: Live & Reloaded – ‘Conquering Conker’ Live Walkthrough
Navigation:

Conquering Conker: Live & Reloaded
Conquering Conker Part 1: Beach Dead
Conquering Conker Part 2: Fortress Deux
Conquering Conker Part 3: Castle Tedistein
Conquering Conker Part 4: A Bridge Too Narrow
Conquering Conker Part 5: Three Towers
Conquering Conker Part 6: Doon
Conquering Conker Part 7: T.M.S Spamono
Conquering Conker Part 8: The Ditch
FORTRESS DEUX
This is a straight-up capture the flag scenario. Points are scored for snatching the enemy flag and running it to your base. After learning your way around this map, remember the locations of chain gun turrets; they can be used to defend key areas of the map. Each base has a few upgrades nearby, just in case you want to grab extra weapons on your way to the enemy flag. Knowing the layout of this battleground is vital to learning the quickest and safest routes to run the enemy flag back to your base.
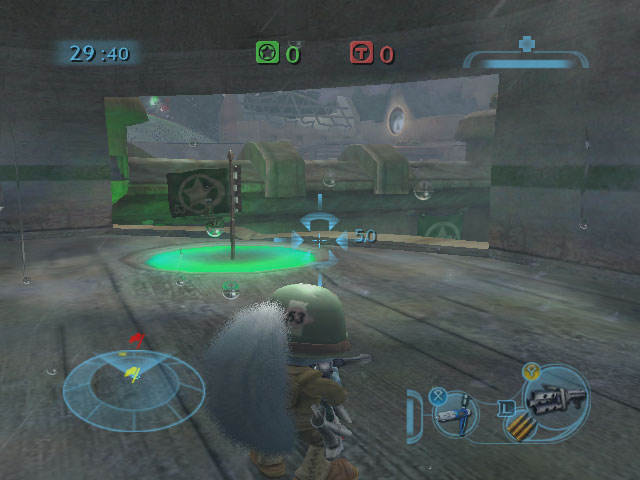

![]() Defend your flag, soldier!
Defend your flag, soldier!![]() Learn the quickest routes to and from
Learn the quickest routes to and from
![]() the enemy flag.
the enemy flag.
Vehicles are very valuable in this scenario. Sky Jockeys can soar over the courtyard in a Steed making strafing runs, while most soldiers rush about on the ground in R-Hogs, Toads and the Tankus. Demolishers should be on guard against enemy aircraft if a Sky Jockey is dominating the map.
The tunnels below ground are ideal for close combat, so Thermophile Sinurators and Sneeker Sabres are effective there. If you’re clever, you may be able to lure your opponent toward an underground chain gun. The paths above ground have plenty of open areas for Long Rangers to snipe. Finding enemies is easier if you use Infravision, because it highlights the locations of enemy units. (Hold down the X button to open the menu for that ability.)
If you’re teamed up with other players online, you’ll need to decide how many soldiers will defend your flag, how many will rush the enemy base and which routes to defend. An effective team has a few terms to describe each route, so they’ll know which paths the enemy is blocking. Communicate your plans over your headset!
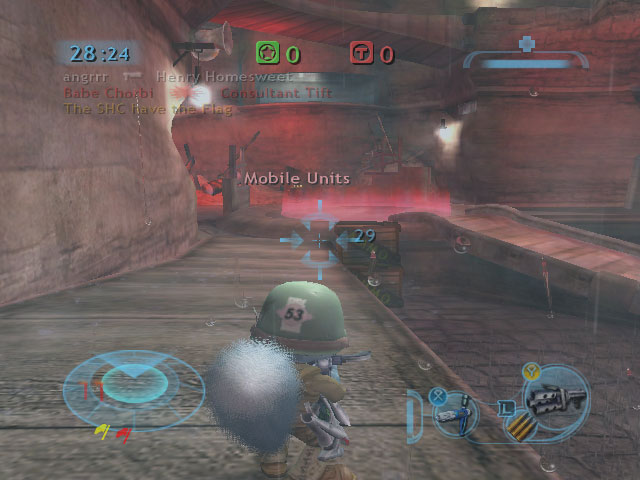
![]() Vehicles are very valuable in this scenario–
Vehicles are very valuable in this scenario–
![]() destroy enemy Mobile Units for an edge.
destroy enemy Mobile Units for an edge.
This map involves a lot of running, so stow your weapon to increase movement speed. (Hold the Y button, and scroll over towards Open Hand.) Watch your radar closely if you choose this option—you don’t want to run around a corner into an armed opponent. Be prepared to re-arm yourself when enemies are close to you on your radar.
Each base has renewable upgrade tokens near the Mobile Unit base. If you have the time, grab those yellow spheres!