GoldenEye 007 Walkthrough 7-3: Caverns


Navigation:
Mission 1: Arkangelsk
Mission 2: Severnaya
Mission 3: Kirghizstan
Mission 4: Monte Carlo
Mission 5: Severnaya
Mission 6: St. Petersburg
Mission 7: Cuba
– 7-1: Jungle
– 7-2: Control
– 7-3: Caverns
– 7-4: Cradle
Mission 8: Teotihuaca’n
Mission 9: el-Saghira
MISSION 7: CUBA – STAGE 3: CAVERNS
Objectives:
1- Destroy the Inlet Pump Controls (Secret Agent)
2- Destroy the Outlet Pump Controls (Secret Agent)
3- Destroy the Master Control Console (Secret Agent)
4- Use the Radio to Contact Jack Wade (00 Agent)
5- Minimize Scientist Casualties (Agent)
M Briefing: Don’t jeopardize the mission by going for the man, Bond – nobody needs a dead hero. You’ll be on your own but CIA combat support will be waiting. Find a radio and inform Jack Wade of the exact location of the dish and he’ll send in the cavalry.
Q Branch: The satellite communications dish is exposed. If you remove the water pumps, Janus will be unable to hide it again. Destroy the servo control consoles close to the pumps and be sure to disable the master console.
Moneypenny: Doing a pot of spelunking? Well, don’t mess your trousers up, James.
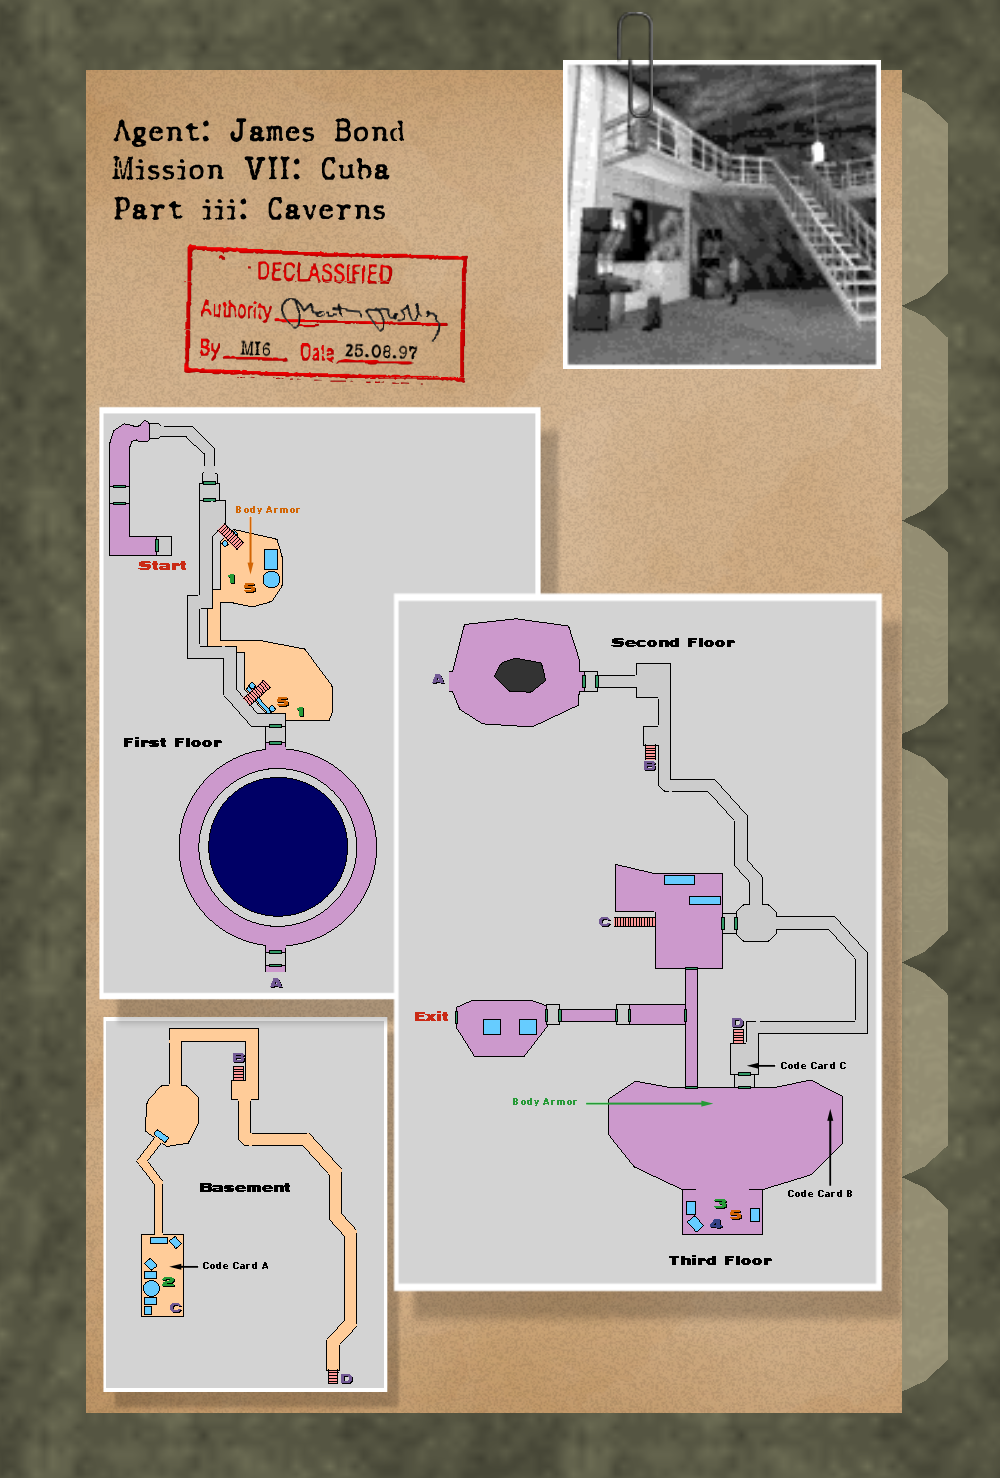
![]() MISSION 7: CUBA – STAGE 3: CAVERNS – MAPS
MISSION 7: CUBA – STAGE 3: CAVERNS – MAPS
These declassified maps from MI6 give a satellite view of the Caverns – our intelligence has also taken great care to provide internal blueprints for any area that our cameras haven’t been able to peer inside of, giving you complete visibility of every location in your mission. Crucial provisions like Body Armor and hidden Weapons have also been detailed inside the dossier, along with other points of interest during the assignment.
Click here to expand the dossier and take a closer look at the maps provided within.
You may use these maps before the mission starts to familiarize yourself with the region, and refer to them throughout as you need them.
Good luck, 007!
SUBTERRANEAN CAVERNS, CUBA
After all that Natalya was able to accomplish, Janus programmers are rushing to re-assign the proper trajectory of the GoldenEye before it’s too late. With Janus and his workers still alive, this mission will never be over. Now you have to make your way through the water tunnels that store the water that usually shrouds the satellite relay dish, making it invisible to the naked eye. Since the relay is going online, the tunnels are filling up with water, just in time for 007 to make his grand exit from Janus HQ to meet with the boss himself.
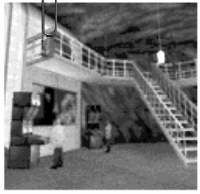
Disembark from the elevator to meet Janus minutemen head-on. This room and the one after it are filled with enemies, so grab their guns and rocket through them all. Now you will reach the actual tunnels. Take out the two guards before heading down the stairs. Grab the Body Armor down there, shoot the guard, don’t shoot the scientist(s), and destroy all the computer terminals. Follow the cavern down here, take out the other dude and destroy the next set of computers.
Go up the stairs and through the weird, futuristic doorway. This huge cavern will spiral up to the second floor, with a few enemies along the way that can be sniped before a confrontation. Reach the top and pass through. The next room will have six guards armed with ZMG’s. Progressing through here might be tricky, but once you do, pick up their guns. You can duel-wield these! Advance to the next cavern tunnel. Enemies are plentiful, but no match for your duel-wielded automatic weapons. Descend via the stairs and turn around and follow the path behind you. Take this to the weapons cache to restock on ammunition.
Shoot some rounds at the steel lockers against the wall. When the explosion settles, you will be able to walk through a secret passageway that leads to the outlet pump controls. Kill the guards in here and blow up the two terminals on either side of the turbine. Pick up Code Card A. Leave through the far entrance. Go up that set of stairs to reach another room full of bad guys (surprise surprise, eh?). There will be a drone gun above you to the right. Peek at it from the corner and shoot its barrel until it shatters into polygons. If you’ve found an AR33 at this point, that is perfect.
The blast door to your right will not open yet, so go through the doors in front of you to end up back in the tunnels with enemies to shoot. Do that then head to the right, further down the tunnel until you reach another set of weird, future doors. One of the guards outside will possess Code Card C; take it. Open up the round doors. Inside will be a total of 8 guards (one holding Code Card B) and some Body Armor. Lure the four guards tucked away into the back section by shooting up some boxes, which will get their attention and abandon their posts. Once they’re all gone, head toward all the computers and the explosives. Activate the radio; it will communicate your coordinates to your CIA contact Jack Wade.
Now destroy the master control console here. Hoping that the guards haven’t taken out this whole subset by now, use the explosive containers to finish off the manual controls to the waterways. Try to shoo out the scientists as to avoid civilian casualties. You can leave this room now, heading toward the big blast door. Open it, remove the soldiers waiting here, and then open the door to your left.
In the room after this one, the doors will open to Trevelyan taunting you. Don’t step in until you eliminate the two consecutive drone guns. They will be out of range, so you can kill them with some steady aiming. Go through here to the next room with five measly guards. You could ignore them or waste the bullets as you head to the elevator. Next floor: the satellite cradle.