GoldenEye 007 Walkthrough 2-1: Surface


Navigation:
Mission 1: Arkangelsk
Mission 2: Severnaya
– 2-1: Surface
– 2-2: Bunker
Mission 3: Kirghizstan
Mission 4: Monte Carlo
Mission 5: Severnaya
Mission 6: St. Petersburg
Mission 7: Cuba
Mission 8: Teotihuaca’n
Mission 9: el-Saghira
MISSION 1: SEVERNAYA – STAGE 1: SURFACE
Other sources have confirmed the shipment of a large amount of computer hardware to that location, and an influx of skilled personnel.
Objectives:
1- Power Down the Communication Dish (Agent)
2- Obtain the Safe Key (Secret Agent)
3- Steal the Building Plans (Secret Agent)
4- Enter the Base via the Ventilation Shaft (Agent)
M Briefing: It might be a coincedence that there is a new head of the Soviet Space Weapons Division, your old friend General Ourumov, or it might not. Penetrate the base and find out what is going on. Building plans for the underground section would be ideal. They’re unlikely to be just lying around so look for a safe – there’s bound to be someone you can borrow a key from.
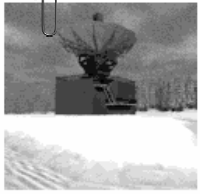
Q Branch: I’ve looked over the recon photographs and I advise you to stay clear of the main bunker entrance by the helipad. However, there seems to be a ventilation tower nearby which would make an excellent spot for a covert entry. You ought to power down the the comms dish to, no point in letting them tell the whole of Russia that you’ve dropped in.
Moneypenny: It’s cold in Siberia, James. Make sure you wrap up warm and take care to protect your extremities.
![]() MISSION 1: SEVERNAYA – STAGE 1: SURFACE – MAPS
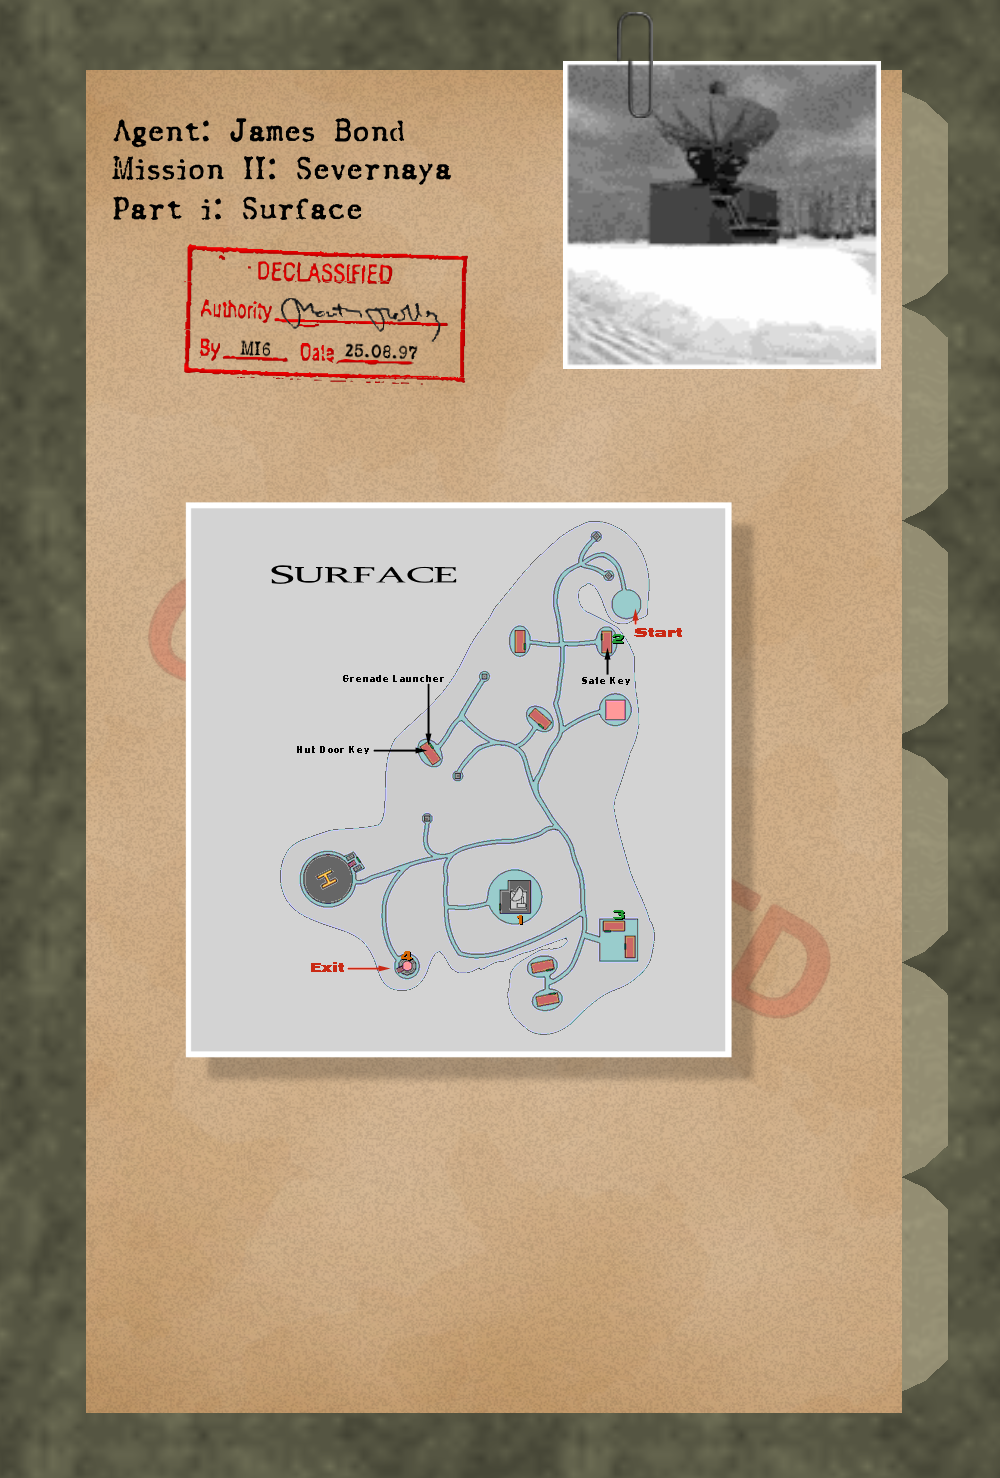
MISSION 1: SEVERNAYA – STAGE 1: SURFACE – MAPS
These declassified maps from MI6 give a satellite view of the Surface – our intelligence has also taken great care to provide internal blueprints for any area that our cameras haven’t been able to peer inside of, giving you complete visibility of every location in your mission. Crucial provisions like Body Armor and hidden Weapons have also been detailed inside the dossier, along with other points of interest during the assignment.
Click here to expand the dossier and take a closer look at the maps provided within.
You may use these maps before the mission starts to familiarize yourself with the region, and refer to them throughout as you need them.
Good luck, 007!
SEVERNAYA INSTALLATION, SIBERIAN PLATEAU
Out in the middle of nowhere, a disproportionate amount of military personnel has set up shop but have moved nowhere. Obviously, something is being hidden here. Start off on foot into the tundra. Wander around to the left until you run into the first wooden hut. Inside there will be two soldiers to kill and a safe key. Grab the key and venture out again.
Prepare for another trek into the wild. Russian soldiers suited for the cold will come at you, but they are few and far between, so don’t worry about them unless they’re up in your face. Make your way to the enormous satellite dish on the other side of the stage. The main door is unlocked, so walk in and go up the stairs. You can go onto the roof and get rid of the snipers if you like, but then go into the next room and face the computer. This machine maintains communication between this base and the headquarters elsewhere. It would be of great convenience to you if you shut it down before you infiltrate the bunker. Shut it down with B and leave promptly.
Before you make your way into the bunker for the next part of the mission, you have to find the blueprints so you’ll know where you’re going. The blueprints are in a safe in another hut off in the distance. Two sets of twin huts can be found on an alcove on the southwest side of the map. The first building that you see a camera and an alarm, so take those out from far away before advancing. Shoot up any guards there, and enter the first hut. The blueprints will be yours for the taking inside the obvious, gray safe. Grab the papers and rush out.
To finish this part of the mission, you need to drop into the hidden bunker from an alternate entrance. Avoid the front door helipad and locate the ventilation tower nearby. Shoot off the locks and the grate will drop. Follow it into the bunker exhaust shaft.