Chapter 3-3: Well Versed in Backtracking


Navigation:
Chapter 1: The Rescue
Chapter 2: The Restoration
Chapter 3: The Riddle
-3-1: Fetching up the First Verse
-3-2: Second Stanza in the Stables
-3-3: Well Versed in Backtracking
-3-4: Don’t Fear the Reaper
-3-5: Method to the Madness
-3-6: Requisite for a Reckoning
Chapter 4: The Reckoning
Chapter 5: The Race
BRINGING THE RHYME BACK IN TIME
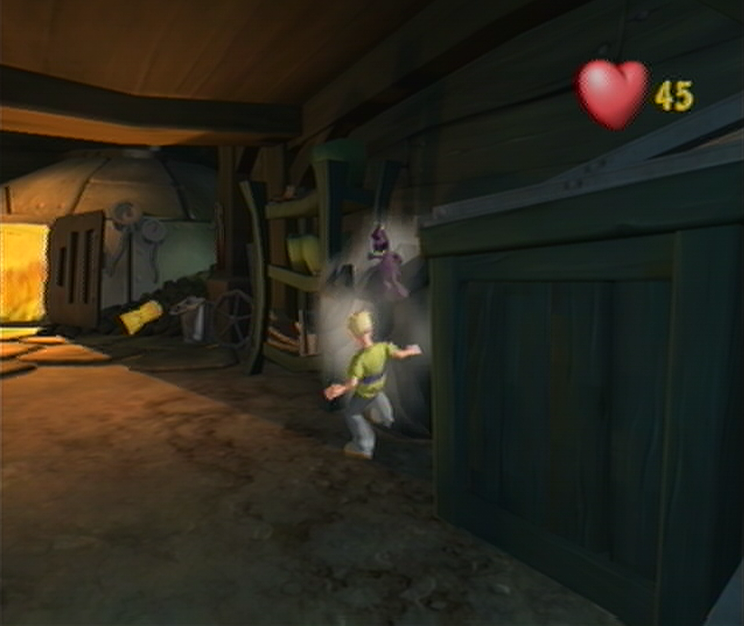
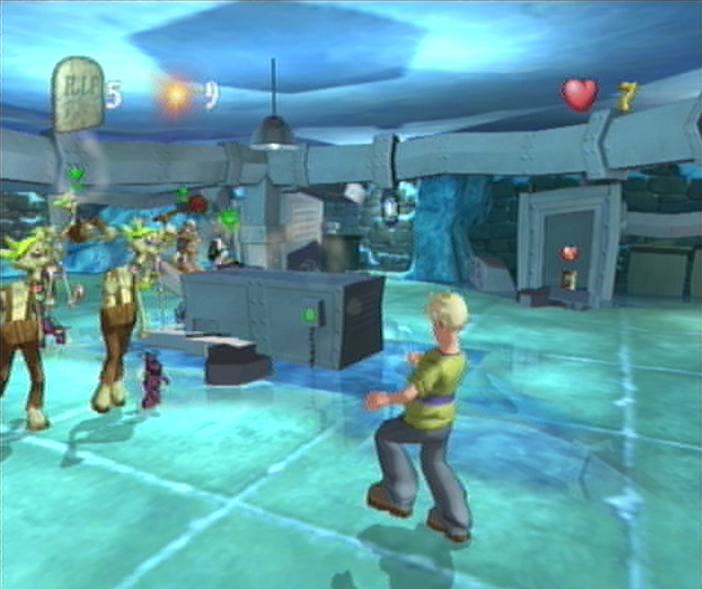
![]() Once we’ve managed to return to the Foundary we’ll have a rendezvous with Mr. Ribs to take the Fire Extinguisher off of our hands. While the room is presently filled with Ghoulies, you’ll find that they have no interest in Cooper in the slightest. Luckily we’ll manage to use this to our advantage as we prepare ourselves for the monumental challenge ahead. From where you met up with Mr. Ribs, follow the wall to the right and rip into the bag of coal to expose a single Imp inside. With our new Ghouly in tow, travel toward the Fireplace on the far end of the room and knock the Mummy closest into the flames. After you’ve managed that you’ll find that a Skeleton has taken its place, though it isn’t about to stand idly by. Avoid getting smacked about by the Skeleton and Imp and work on slamming a second Mummy into the flames which will in turn offer up a second Skeleton. Now that we’re ready to begin, we’ll rush towards the open Challenge Door on the opposite side of the room.
Once we’ve managed to return to the Foundary we’ll have a rendezvous with Mr. Ribs to take the Fire Extinguisher off of our hands. While the room is presently filled with Ghoulies, you’ll find that they have no interest in Cooper in the slightest. Luckily we’ll manage to use this to our advantage as we prepare ourselves for the monumental challenge ahead. From where you met up with Mr. Ribs, follow the wall to the right and rip into the bag of coal to expose a single Imp inside. With our new Ghouly in tow, travel toward the Fireplace on the far end of the room and knock the Mummy closest into the flames. After you’ve managed that you’ll find that a Skeleton has taken its place, though it isn’t about to stand idly by. Avoid getting smacked about by the Skeleton and Imp and work on slamming a second Mummy into the flames which will in turn offer up a second Skeleton. Now that we’re ready to begin, we’ll rush towards the open Challenge Door on the opposite side of the room.
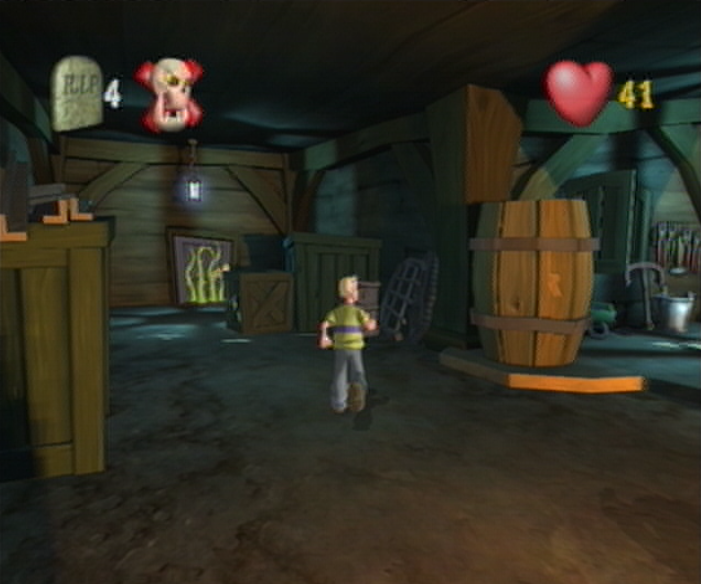
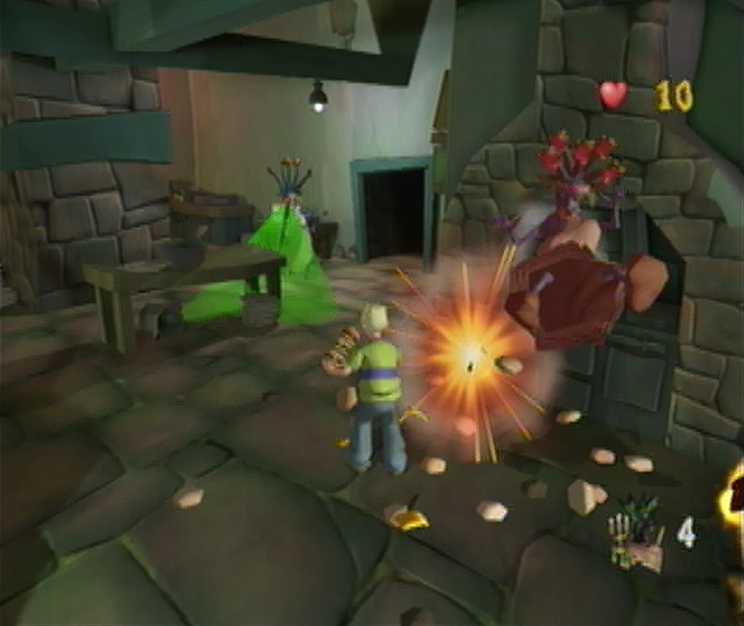
![]() Once you manage to get close enough, the Challenge Door will slam in protest and you’ll start one of the most difficult “Next-one-different” challenges thus far. Luckily we’ve managed to bring along a few cohorts that will make things much easier. Once you’ve regained control, seek out the single Imp and defeat it before the Skeletons have a chance to intervene. Now that you’re prohibited from defeating a second Imp, work away on one of the two Skeletons you’ve managed to lure over before taking a swing at the crate on the right side of the wall to expose a second Imp and an Energy Boost! Tin for 5 health. Avoid taking damage from the remaining Skeleton or any Mummies, and take out the Imp quickly before turning your sights on the Skeleton you’ve left over. With that out of the way we’ll only have two Ghoulies to defeat before the Challenge is solved! Avoid getting pummeled by the Mummies and venture out towards the area that you initially came through.
Once you manage to get close enough, the Challenge Door will slam in protest and you’ll start one of the most difficult “Next-one-different” challenges thus far. Luckily we’ve managed to bring along a few cohorts that will make things much easier. Once you’ve regained control, seek out the single Imp and defeat it before the Skeletons have a chance to intervene. Now that you’re prohibited from defeating a second Imp, work away on one of the two Skeletons you’ve managed to lure over before taking a swing at the crate on the right side of the wall to expose a second Imp and an Energy Boost! Tin for 5 health. Avoid taking damage from the remaining Skeleton or any Mummies, and take out the Imp quickly before turning your sights on the Skeleton you’ve left over. With that out of the way we’ll only have two Ghoulies to defeat before the Challenge is solved! Avoid getting pummeled by the Mummies and venture out towards the area that you initially came through.
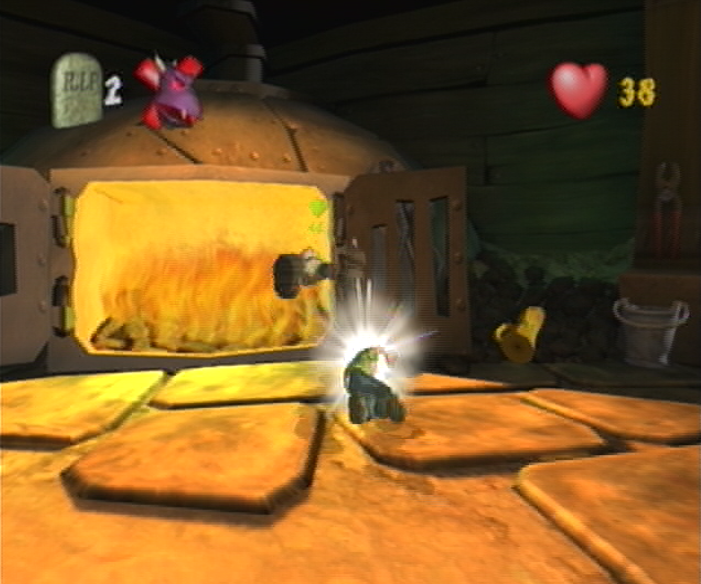
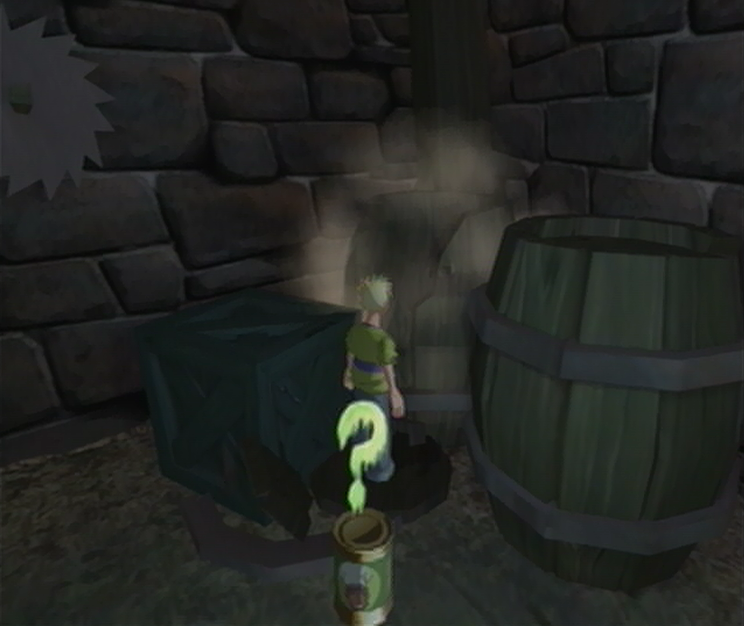
![]() Before you swing around the corner to the vined Challenge Door, you’ll find a large Rare branded barrel to the right. Smash the barrel open whilst avoiding the pursuing Mummies to expose our last Imp that we’ll be able to use for the purpose of this challenge. Once you’ve managed to defeat him we’ll be forced to do battle with the only remaining Ghoulies left in the room; the hoard of pursuing Mummies. You’ll have to do your best in luring them over to the large fireplace at the far end of the room, once you’ve done so it’s just a matter of picking your favorite – or in this case, least favorite – and punting them in to stoke the licking flames of the fireplace. Now that we’ve managed to bring our counter down to 0, the Challenge will complete and the Challenge Door will open, allowing us to pass through unhindered. Be sure to avoid getting too wrapped up with your Mummified cohorts and sprint back towards the now open Challenge Door to find yourself back in the Farmyard.
Before you swing around the corner to the vined Challenge Door, you’ll find a large Rare branded barrel to the right. Smash the barrel open whilst avoiding the pursuing Mummies to expose our last Imp that we’ll be able to use for the purpose of this challenge. Once you’ve managed to defeat him we’ll be forced to do battle with the only remaining Ghoulies left in the room; the hoard of pursuing Mummies. You’ll have to do your best in luring them over to the large fireplace at the far end of the room, once you’ve done so it’s just a matter of picking your favorite – or in this case, least favorite – and punting them in to stoke the licking flames of the fireplace. Now that we’ve managed to bring our counter down to 0, the Challenge will complete and the Challenge Door will open, allowing us to pass through unhindered. Be sure to avoid getting too wrapped up with your Mummified cohorts and sprint back towards the now open Challenge Door to find yourself back in the Farmyard.
FARMYARD
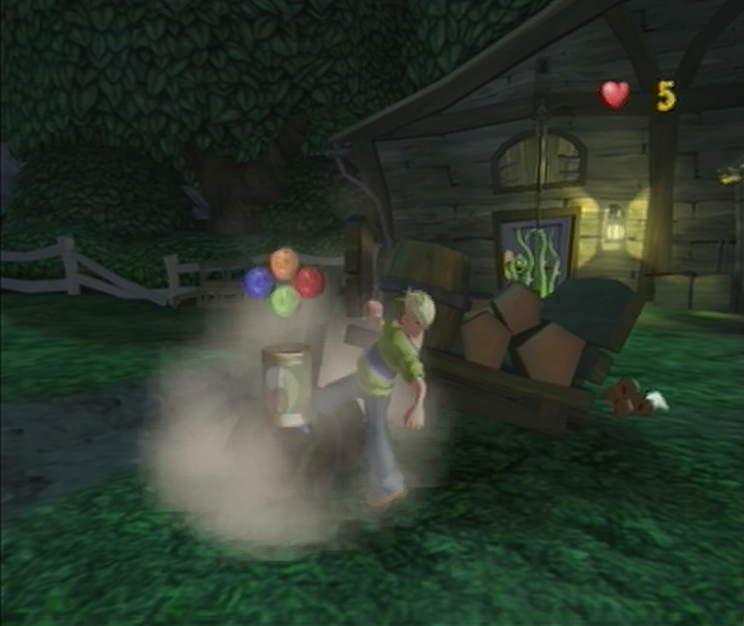
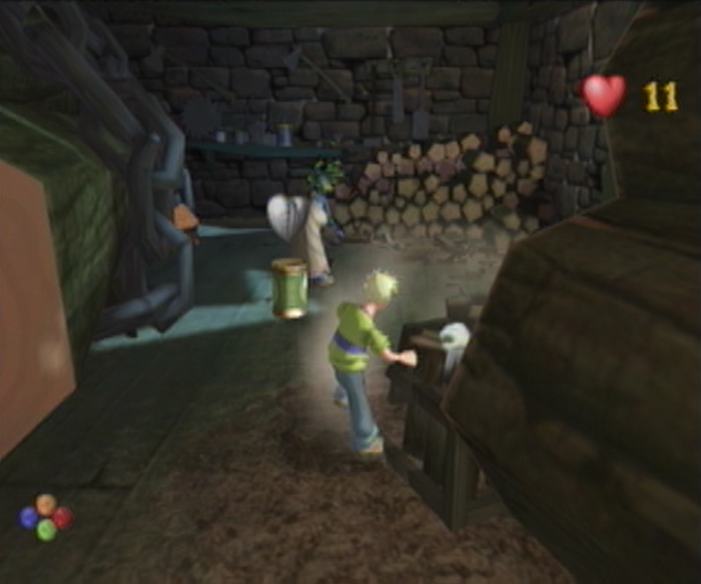
![]() You’ll have to tread carefully here, as Scary Shocks have been planted throughout the Farmyard. Failing a single one will ultimately lead to untimely demise, so it’s best to seek out the Shocker Blocker! Tin that’s been craftily hidden here. From where you start off, you should manage to spot a busted cart in the center of the yard. You’ll need to get yourself in front of this cart without straying too far off of the beaten path or you’ll risk putting yourself in a Shock sequence. Line yourself up with the rear of the cart and then travel in a straight line. Once you’ve arrived behind the cart, hug the edge and work your way around to the right side where you’ll spot a collection of potatoes; work your way around them to the front to a lone barrel. A swift kick will send a Shocker Blocker! Soup Tin onto the ground – pick it up as quickly as possible and then carry on to your immediate right to locate the Challenge Door, just beyond the path paved with unfavorable Soups.
You’ll have to tread carefully here, as Scary Shocks have been planted throughout the Farmyard. Failing a single one will ultimately lead to untimely demise, so it’s best to seek out the Shocker Blocker! Tin that’s been craftily hidden here. From where you start off, you should manage to spot a busted cart in the center of the yard. You’ll need to get yourself in front of this cart without straying too far off of the beaten path or you’ll risk putting yourself in a Shock sequence. Line yourself up with the rear of the cart and then travel in a straight line. Once you’ve arrived behind the cart, hug the edge and work your way around to the right side where you’ll spot a collection of potatoes; work your way around them to the front to a lone barrel. A swift kick will send a Shocker Blocker! Soup Tin onto the ground – pick it up as quickly as possible and then carry on to your immediate right to locate the Challenge Door, just beyond the path paved with unfavorable Soups.
WOOD SHED
![]() From the entrance of the Wood Shed, head to the left to spot a lone stump in the entranceway leading to a Medusa. Hoist the stump over your head and cast it toward the Medusa in order to bowl her over. Once you’ve managed that, follow the table saw to the right to locate a second stump; grab it as well and hurl it toward the Medusa to send her out in style. Now that the coast is clear, continue to the right and you should spot two barrels and a crate in the corner of this area; smash open the barrel next to the crate and you’ll reveal a Challenge Complete! Soup Tin. Ignore it for now but do remember its location as you continue onward. Once you reach the area where the first Medusa was patrolling you’ll find a large barrel under the shade of a tree; smashing it open will expose a Shocker Blocker! Soup Tin. Take the Shocker Blocker! Tin along with the lone stump underneath the tree and use it to take out the Medusa found around the bend.
From the entrance of the Wood Shed, head to the left to spot a lone stump in the entranceway leading to a Medusa. Hoist the stump over your head and cast it toward the Medusa in order to bowl her over. Once you’ve managed that, follow the table saw to the right to locate a second stump; grab it as well and hurl it toward the Medusa to send her out in style. Now that the coast is clear, continue to the right and you should spot two barrels and a crate in the corner of this area; smash open the barrel next to the crate and you’ll reveal a Challenge Complete! Soup Tin. Ignore it for now but do remember its location as you continue onward. Once you reach the area where the first Medusa was patrolling you’ll find a large barrel under the shade of a tree; smashing it open will expose a Shocker Blocker! Soup Tin. Take the Shocker Blocker! Tin along with the lone stump underneath the tree and use it to take out the Medusa found around the bend.
![]() While she’s down, use this time to grab a second stump found to the right behind the fallen ceiling beam to rid her from the Wood Shed. Now that we’re out of stumps, it’s time to move onto the barrels in this area to take out the third Medusa just ahead. Before we do so however, we’ll smash the bundling of logs to the right to acquire an Invisibility! Soup Tin. This will come in handy as each hit with the barrel to the Medusa will have one of her protective Worms sent after you! The best course of action is to quickly toss both barrels and then take care of the Worms by kicking them far away as their timers wind down. You’ll find your next stump in the corner where the Medusa once patrolled and use it to take out the final Medusa in the thin corridor ahead. After you’ve tossed your stump, you’ll have to grab one of the Crates behind you to use next, though you’ll have to deal with the explosive aftermath of having another Worm tossed at you as well.
While she’s down, use this time to grab a second stump found to the right behind the fallen ceiling beam to rid her from the Wood Shed. Now that we’re out of stumps, it’s time to move onto the barrels in this area to take out the third Medusa just ahead. Before we do so however, we’ll smash the bundling of logs to the right to acquire an Invisibility! Soup Tin. This will come in handy as each hit with the barrel to the Medusa will have one of her protective Worms sent after you! The best course of action is to quickly toss both barrels and then take care of the Worms by kicking them far away as their timers wind down. You’ll find your next stump in the corner where the Medusa once patrolled and use it to take out the final Medusa in the thin corridor ahead. After you’ve tossed your stump, you’ll have to grab one of the Crates behind you to use next, though you’ll have to deal with the explosive aftermath of having another Worm tossed at you as well.

![]() Now that we’ve managed to clear a pathway, we’ll continue along towards Fiddlesworth who happens to be spying on a Medusa from behind a beam. “Buy my Beef!“, the Groundskeeper whispers to himself, “I wonder if she likes ‘airy backs…”. A shiver from behind lets him know he’s not alone. “Oh, ‘ello lad!” Fiddlesworth says as he turns to his unseen guest, “Just, er, keepin’ an eye on me wood. Ho ho!“. Cooper cocks his head to the side as Fiddlesworth shifts his eyes, “Well it all looks in order! Bye for now!“. Fiddlesworth darts away, leaving behind Ol’ Edna, which Cooper snatches up. After making short work of the Vampire ahead, we’ll make a beeline for the exit, only for the challenge to start when we get too close. Rather than toiling away at the challenge at hand, we’ll retrace our steps until we’ve arrived back at the Challenge Complete! Soup Tin. Now that you’ve managed that, you’re free to come back and deal with the Vampire Chickens on your own terms and then make an exit.
Now that we’ve managed to clear a pathway, we’ll continue along towards Fiddlesworth who happens to be spying on a Medusa from behind a beam. “Buy my Beef!“, the Groundskeeper whispers to himself, “I wonder if she likes ‘airy backs…”. A shiver from behind lets him know he’s not alone. “Oh, ‘ello lad!” Fiddlesworth says as he turns to his unseen guest, “Just, er, keepin’ an eye on me wood. Ho ho!“. Cooper cocks his head to the side as Fiddlesworth shifts his eyes, “Well it all looks in order! Bye for now!“. Fiddlesworth darts away, leaving behind Ol’ Edna, which Cooper snatches up. After making short work of the Vampire ahead, we’ll make a beeline for the exit, only for the challenge to start when we get too close. Rather than toiling away at the challenge at hand, we’ll retrace our steps until we’ve arrived back at the Challenge Complete! Soup Tin. Now that you’ve managed that, you’re free to come back and deal with the Vampire Chickens on your own terms and then make an exit.
GARBAGE YARD

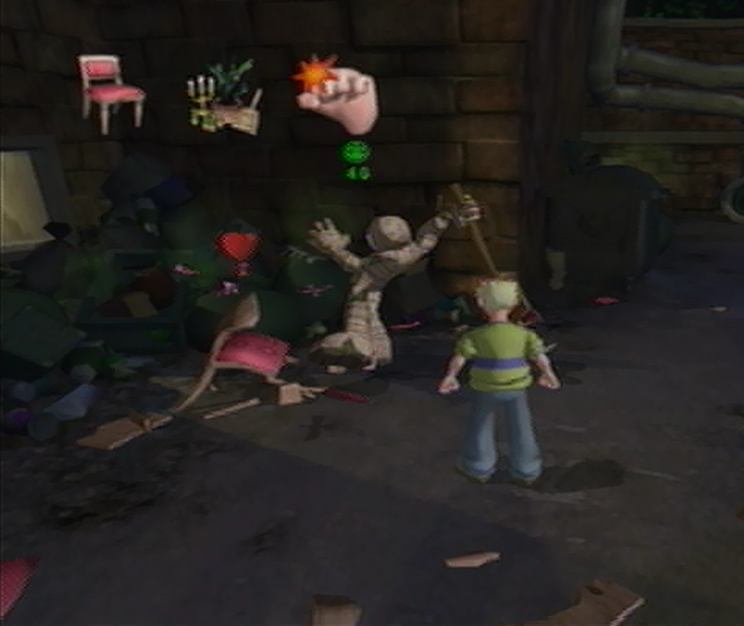
![]() You can take advantage of the short time prior to the challenge starting by approaching the nearest chair and breaking it the second you’ve picked it up. There you are; an extra Ghouly that you won’t have to deal with. As you make your way to the center of the Garbage Yard the challenge will begin, bringing with it one of the most hypocritical rules of the entire game; one rule states that you’re not allowed to use any weapons, while the other states that you’ll have to use weapons only to defeat the Ghoulies. This sounds tricky doesn’t it? Don’t worry about it too much though, as there’s a simple way of having the challenge play right into your hands. First, you’ll have to move to the left side of the Garbage Yard where you’ll spot a broom, an upturned chair and a garbage bin. Break the chair and then smash the crate to the left to expose a Miniature Cooper! Tin. Follow the Mini-Cooper until he passes the second chair that we left alone, and then take the time to destroy it properly.
You can take advantage of the short time prior to the challenge starting by approaching the nearest chair and breaking it the second you’ve picked it up. There you are; an extra Ghouly that you won’t have to deal with. As you make your way to the center of the Garbage Yard the challenge will begin, bringing with it one of the most hypocritical rules of the entire game; one rule states that you’re not allowed to use any weapons, while the other states that you’ll have to use weapons only to defeat the Ghoulies. This sounds tricky doesn’t it? Don’t worry about it too much though, as there’s a simple way of having the challenge play right into your hands. First, you’ll have to move to the left side of the Garbage Yard where you’ll spot a broom, an upturned chair and a garbage bin. Break the chair and then smash the crate to the left to expose a Miniature Cooper! Tin. Follow the Mini-Cooper until he passes the second chair that we left alone, and then take the time to destroy it properly.
![]() Once you’ve managed that, you’ll spot an area to your left with a large window and two more dormant chairs; enter the area and destroy the chairs before putting a fist through the window and exposing a Traitor Fever! Soup Tin. Pick it up immediately. Hopefully this will take out a majority of the chairs, an effort you can encourage by wandering around the Garbage Yard while the chairs are distracted with one another and destroying inanimate chairs manually. If you’re left with two or more chairs by the end, you’ll have cause the chairs to defeat each other by playing Matador and having them slide into one another. When a single chair remains you’ll have a traitorous Mummy jump into action from one of the dumpsters. Since defeating the chair on your own would be breaking the rules, we’ll let our new friend do the work for us. Once the Mummy has managed to defeat the Haunted Chair, you’ll need to work your way up to the Challenge Door and escape!
Once you’ve managed that, you’ll spot an area to your left with a large window and two more dormant chairs; enter the area and destroy the chairs before putting a fist through the window and exposing a Traitor Fever! Soup Tin. Pick it up immediately. Hopefully this will take out a majority of the chairs, an effort you can encourage by wandering around the Garbage Yard while the chairs are distracted with one another and destroying inanimate chairs manually. If you’re left with two or more chairs by the end, you’ll have cause the chairs to defeat each other by playing Matador and having them slide into one another. When a single chair remains you’ll have a traitorous Mummy jump into action from one of the dumpsters. Since defeating the chair on your own would be breaking the rules, we’ll let our new friend do the work for us. Once the Mummy has managed to defeat the Haunted Chair, you’ll need to work your way up to the Challenge Door and escape!
FRRRREEZER
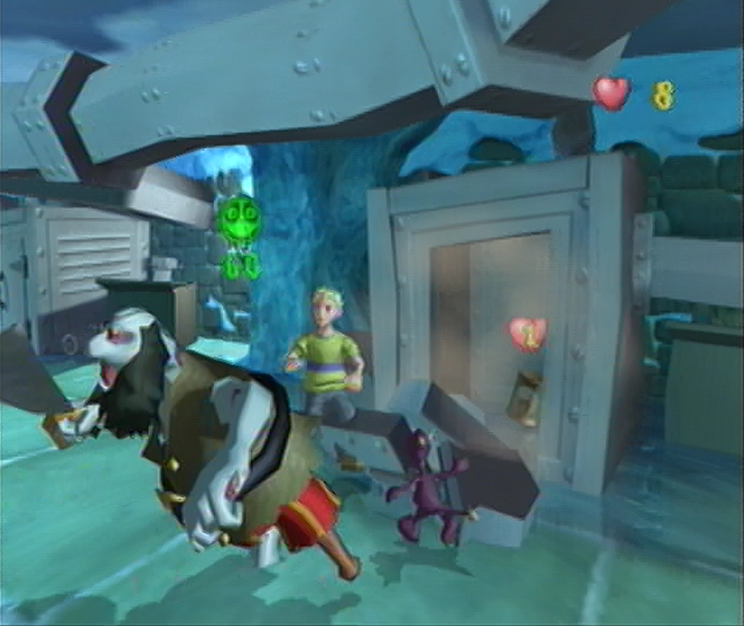
![]() As you start off in the Frrrreezer, you’ll need to ignore the Imps altogether and instead hug the right wall until you come up to the first Freezer door. Once you’ve arrived, smashing it open to reveal the traitorous Zombie Pirate inside, and carrying on ahead just a little further will begin the challenge proper. For this room, you’ll be expected to defeat 8 Ghoulies that have popped out from the central freezer using only 10 hits, which is impossible left to our own devices. Luckily there’s a number of traitorous Ghoulies found in the Freezers dotting the perimeter, so give yourself some distance and break down the doors. You’ll manage to find a Mummy in the next Freezer ahead, with a second Zombie Pirate in the Freezer after that. From here it’s just a matter of circling the room and avoiding the Ghoulies that your temporary friends are trying to take care of. You can deal with the Imps yourself if they’re still kicking, just don’t go out of your way to do so or you’ll risk getting hit.
As you start off in the Frrrreezer, you’ll need to ignore the Imps altogether and instead hug the right wall until you come up to the first Freezer door. Once you’ve arrived, smashing it open to reveal the traitorous Zombie Pirate inside, and carrying on ahead just a little further will begin the challenge proper. For this room, you’ll be expected to defeat 8 Ghoulies that have popped out from the central freezer using only 10 hits, which is impossible left to our own devices. Luckily there’s a number of traitorous Ghoulies found in the Freezers dotting the perimeter, so give yourself some distance and break down the doors. You’ll manage to find a Mummy in the next Freezer ahead, with a second Zombie Pirate in the Freezer after that. From here it’s just a matter of circling the room and avoiding the Ghoulies that your temporary friends are trying to take care of. You can deal with the Imps yourself if they’re still kicking, just don’t go out of your way to do so or you’ll risk getting hit.
![]() If you find yourself taking a little more damage then you’d like, there’s plenty of Energy Boost! Soup Tins found inside the freezers that aren’t occupied by Traitorous Ghoulies or frosty weaponry, just make sure to give yourself enough space from the Ghoulies so that you don’t trap yourself inside. If you happen to spot the Challenge Door during one of your rotations, it would do you well to approach the Challenge Door in order to expose the Super Scary Shock that waits for you while you’ve got some distance between the Ghoulies; better to do that now when you’re in control than later when you’re looking for a desperate exit and don’t have the time to turn. Smashing the large chunk of ice to the right of the Challenge Door while you’re here will reveal an Invulnerability! Soup Tin that you’re free to use to last through this challenge if you’d like. Once your Ghoulish cohorts manage to take care of at least eight of their fellow Ghoulies you’ll want to make a rush for the Challenge Door.
If you find yourself taking a little more damage then you’d like, there’s plenty of Energy Boost! Soup Tins found inside the freezers that aren’t occupied by Traitorous Ghoulies or frosty weaponry, just make sure to give yourself enough space from the Ghoulies so that you don’t trap yourself inside. If you happen to spot the Challenge Door during one of your rotations, it would do you well to approach the Challenge Door in order to expose the Super Scary Shock that waits for you while you’ve got some distance between the Ghoulies; better to do that now when you’re in control than later when you’re looking for a desperate exit and don’t have the time to turn. Smashing the large chunk of ice to the right of the Challenge Door while you’re here will reveal an Invulnerability! Soup Tin that you’re free to use to last through this challenge if you’d like. Once your Ghoulish cohorts manage to take care of at least eight of their fellow Ghoulies you’ll want to make a rush for the Challenge Door.
KITCHEN
![]() Right, it’s a bit of a safehaven in the Kitchen, well, as much as it could be with patrolling Medusas anyway. Let’s take advantage of this situation and defeat them while we’re here to benefit our Ghoulies Defeated Score. The first Medusa isn’t too difficult to handle; her gaze is fixated on the floor as she revolves around, so it’s quite simple to sneak up while her back is turned and lay it on thick. Once you’ve knocked her down once you’ll have to back off and wait for her to resume her post until you’ve got the chance to sneak in a second time. After taking care of her, it’s time to grab a snack, in this case we’ll snatch up the collection of burgers that we used to beat Mr. Ribs into submission and carry them past the cauldron to the Super Weapons! and Turbo Cooper! Soup tins found on the counter. Now that we’ve got an untapped supply of burgers, we can take care of the last two Medusas rather quickly before making our way through the Challenge Door to the Laundry.
Right, it’s a bit of a safehaven in the Kitchen, well, as much as it could be with patrolling Medusas anyway. Let’s take advantage of this situation and defeat them while we’re here to benefit our Ghoulies Defeated Score. The first Medusa isn’t too difficult to handle; her gaze is fixated on the floor as she revolves around, so it’s quite simple to sneak up while her back is turned and lay it on thick. Once you’ve knocked her down once you’ll have to back off and wait for her to resume her post until you’ve got the chance to sneak in a second time. After taking care of her, it’s time to grab a snack, in this case we’ll snatch up the collection of burgers that we used to beat Mr. Ribs into submission and carry them past the cauldron to the Super Weapons! and Turbo Cooper! Soup tins found on the counter. Now that we’ve got an untapped supply of burgers, we can take care of the last two Medusas rather quickly before making our way through the Challenge Door to the Laundry.