Chapter 3: The Riddle


Navigation:
Chapter 1: The Rescue
Chapter 2: The Restoration
Chapter 3: The Riddle
-3-1: Fetching up the First Verse
-3-2: Second Stanza in the Stables
-3-3: Well Versed in Backtracking
-3-4: Don’t Fear the Reaper
-3-5: Method to the Madness
-3-6: Requisite for a Reckoning
Chapter 4: The Reckoning
Chapter 5: The Race
ENCUMBERED TO CRIVEN’S QUARTERS
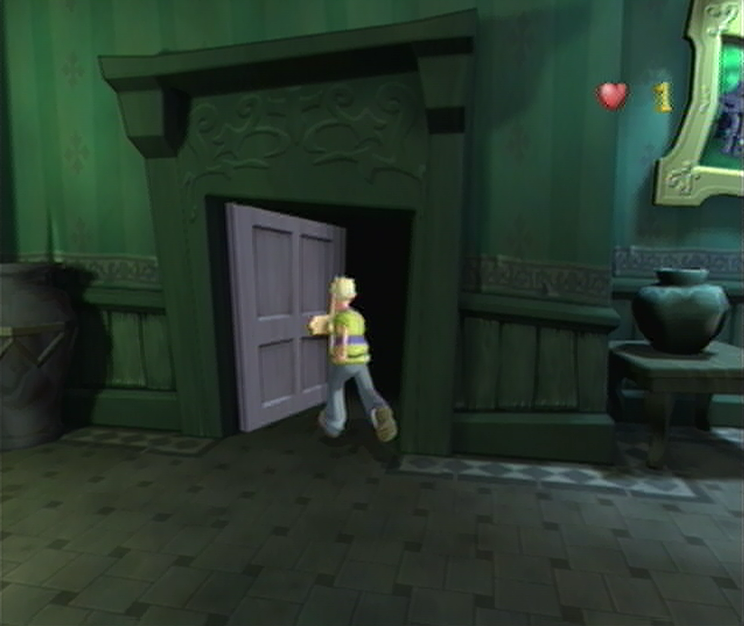
![]() After a particularly exhausting run from the Archives, Cooper and Amber close in on the final stretch of the Grand Hallway to put themselves back outside Ghoulhaven Hall. Unfortunately, their path is soon intercepted by Mr. Ribs gangly frame as he slides in front of the duo. “Please stay! And please don’t hurt Mr. Ribs again! You rescue many strange girl and boy prisoners!” Mr. Ribs manages to stammer out to a defeated looking Cooper. “We not help, or nasty Baron do same to Mr. Ribs & Cookie! Please go see Mr. Crivens in his room! He know what to do!” As Mr. Ribs points to a doorway in the distance, Amber breathes a heavy sigh of frustration, “I ain’t going anywhere near that crusty old butler dude again! You go pay him a visit.” Amber prods Coopers chest with her index finger, “I’ll go with Bonehead here and try to find a phone to call for help.” and just like that, Cooper is alone once more… Right, let’s get through that doorway…
After a particularly exhausting run from the Archives, Cooper and Amber close in on the final stretch of the Grand Hallway to put themselves back outside Ghoulhaven Hall. Unfortunately, their path is soon intercepted by Mr. Ribs gangly frame as he slides in front of the duo. “Please stay! And please don’t hurt Mr. Ribs again! You rescue many strange girl and boy prisoners!” Mr. Ribs manages to stammer out to a defeated looking Cooper. “We not help, or nasty Baron do same to Mr. Ribs & Cookie! Please go see Mr. Crivens in his room! He know what to do!” As Mr. Ribs points to a doorway in the distance, Amber breathes a heavy sigh of frustration, “I ain’t going anywhere near that crusty old butler dude again! You go pay him a visit.” Amber prods Coopers chest with her index finger, “I’ll go with Bonehead here and try to find a phone to call for help.” and just like that, Cooper is alone once more… Right, let’s get through that doorway…
HOUSEKEEPING STORE

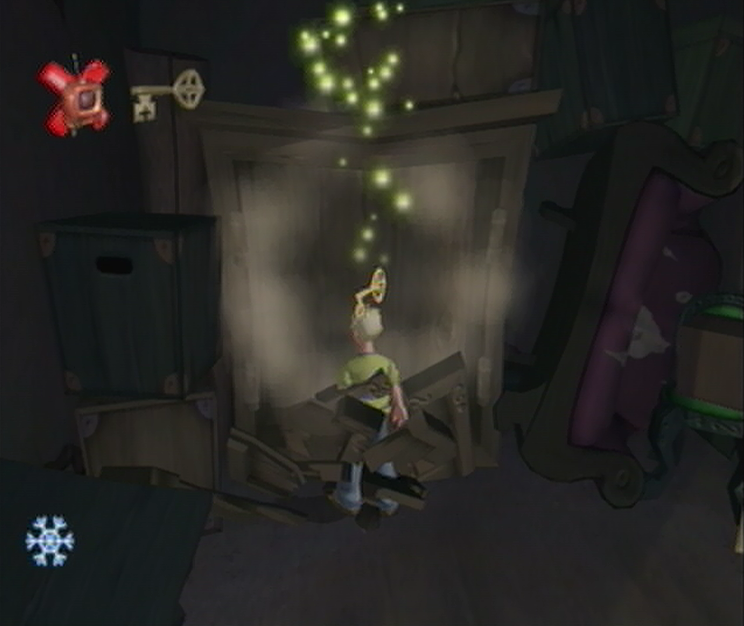
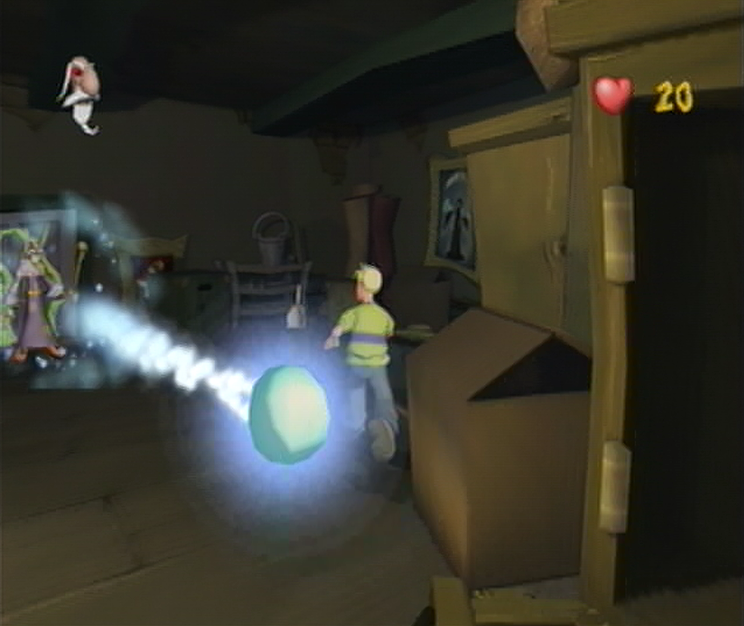
![]() As you start off in the Housekeeping Store you’ll be thrown headlong into a challenge; find the hidden key, but don’t defeat the Haunted Television Set found in the center of the room. So long as you manage to avoid getting too near the Television Set you shouldn’t have a problem, the real issue will be locating the hidden key, which resides in one of the many wardrobes around this room. Smash open the wardrobe to your immediate left to go through a process of elimination; if you’re extremely lucky, you’ll manage to find the Key inside this particular wardrobe, otherwise just continue forward towards the collection of crates across from your starting position. Once you’ve arrived here you should spot a portrait of Dr. Krackpot to your right, smash it open quickly for a Freeze Ghoulies Soup Tin. Once you’ve picked up the Super Soup, make your way to the now immobilized Television Set and administer seven hits until you reduce its health to 6 points.
As you start off in the Housekeeping Store you’ll be thrown headlong into a challenge; find the hidden key, but don’t defeat the Haunted Television Set found in the center of the room. So long as you manage to avoid getting too near the Television Set you shouldn’t have a problem, the real issue will be locating the hidden key, which resides in one of the many wardrobes around this room. Smash open the wardrobe to your immediate left to go through a process of elimination; if you’re extremely lucky, you’ll manage to find the Key inside this particular wardrobe, otherwise just continue forward towards the collection of crates across from your starting position. Once you’ve arrived here you should spot a portrait of Dr. Krackpot to your right, smash it open quickly for a Freeze Ghoulies Soup Tin. Once you’ve picked up the Super Soup, make your way to the now immobilized Television Set and administer seven hits until you reduce its health to 6 points.
![]() Technically we’re still following the rules, as we haven’t defeated the Haunted Television just yet; we’ve just made it rather easy to dispatch it in a single hit when the time comes. Once you’ve finished with that you’ll need to rummage through the remaining wardrobes in search of the Key. There’s a single wardrobe to the right of the Haunted Television Set, with another pair to be found on either side of the room after you’ve passed it. You should manage to break open these wardrobes fairy quickly before the Haunted Television Set has regained its mobility. Once you’ve managed to acquire the Hidden Key after a panicked process of elimination the Challenge will sort itself out, rendering the door on the opposite side of the room unlocked, and forgoing the Challenge Rules. From here we’ll finish off the Haunted Television Set since the rules no longer apply and then locate the open Challenge Door on the opposite side of the room.
Technically we’re still following the rules, as we haven’t defeated the Haunted Television just yet; we’ve just made it rather easy to dispatch it in a single hit when the time comes. Once you’ve finished with that you’ll need to rummage through the remaining wardrobes in search of the Key. There’s a single wardrobe to the right of the Haunted Television Set, with another pair to be found on either side of the room after you’ve passed it. You should manage to break open these wardrobes fairy quickly before the Haunted Television Set has regained its mobility. Once you’ve managed to acquire the Hidden Key after a panicked process of elimination the Challenge will sort itself out, rendering the door on the opposite side of the room unlocked, and forgoing the Challenge Rules. From here we’ll finish off the Haunted Television Set since the rules no longer apply and then locate the open Challenge Door on the opposite side of the room.
CRIVEN’S QUARTERS
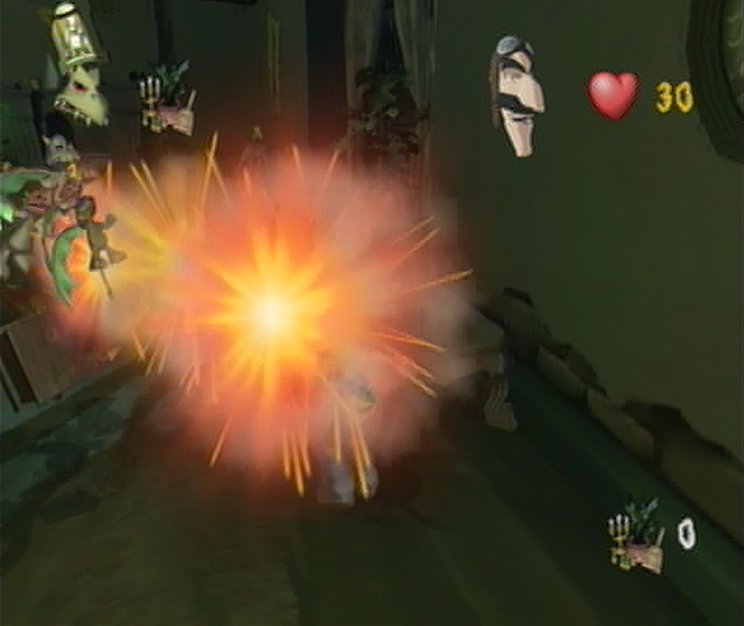
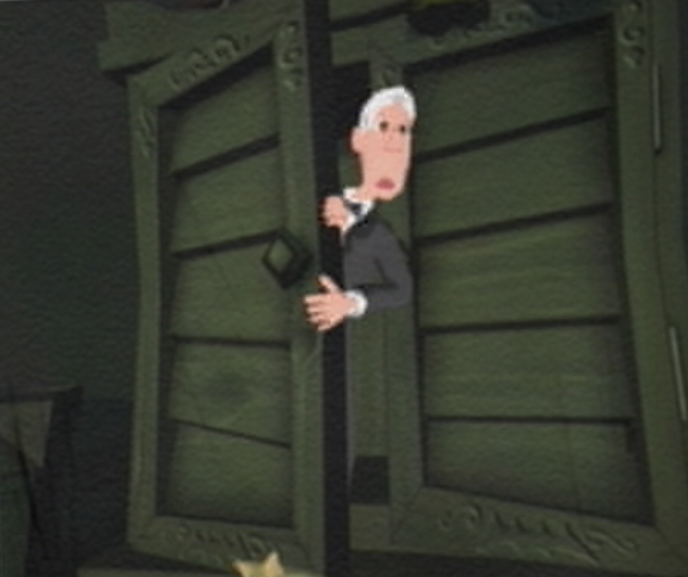
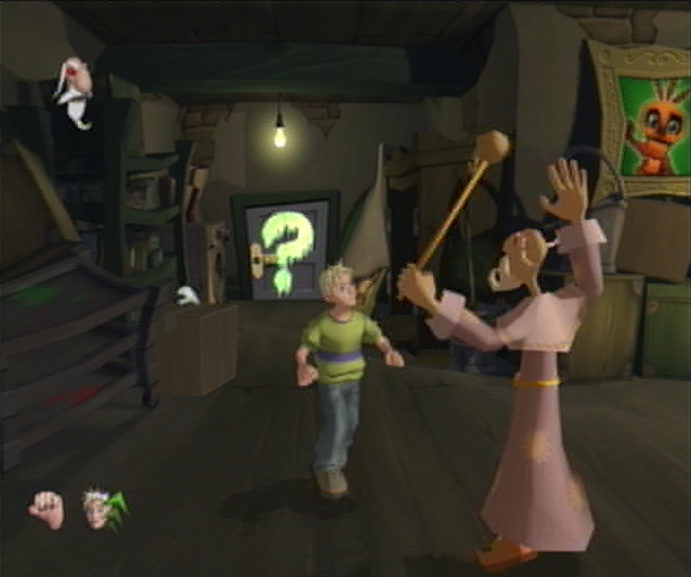
![]() Akin to the Kitchen, Crivens Quarters is filled to the brim with an abundance of Flying Imps, sending the prim and proper butler hiding inside his own wardrobe. “Woe is me!” Crivens whimpers through the crack in the door, “Can anyone save poor old Crivens from these winged monsters? I’m staying in here until they do!” Right, let’s help him out, shall we? For the purposes of this challenge you’ll have to rely on the items found around the room, so to get things going conservatively you’ll want to grab the large Record Player found to your right and immediately toss it toward the gathering of Imps to take them out in a single hit. If you hold onto it too long they’ll divebomb into it, so be sure to use it while you’ve got it and you’ll take quite a number of them out of the air. From here you’ll have to do a bit of scouring to find a few idle items around the room, some key weapons include a Lamp leaning against the corner to the right, and a Candelabra just in front of the fireplace.
Akin to the Kitchen, Crivens Quarters is filled to the brim with an abundance of Flying Imps, sending the prim and proper butler hiding inside his own wardrobe. “Woe is me!” Crivens whimpers through the crack in the door, “Can anyone save poor old Crivens from these winged monsters? I’m staying in here until they do!” Right, let’s help him out, shall we? For the purposes of this challenge you’ll have to rely on the items found around the room, so to get things going conservatively you’ll want to grab the large Record Player found to your right and immediately toss it toward the gathering of Imps to take them out in a single hit. If you hold onto it too long they’ll divebomb into it, so be sure to use it while you’ve got it and you’ll take quite a number of them out of the air. From here you’ll have to do a bit of scouring to find a few idle items around the room, some key weapons include a Lamp leaning against the corner to the right, and a Candelabra just in front of the fireplace.
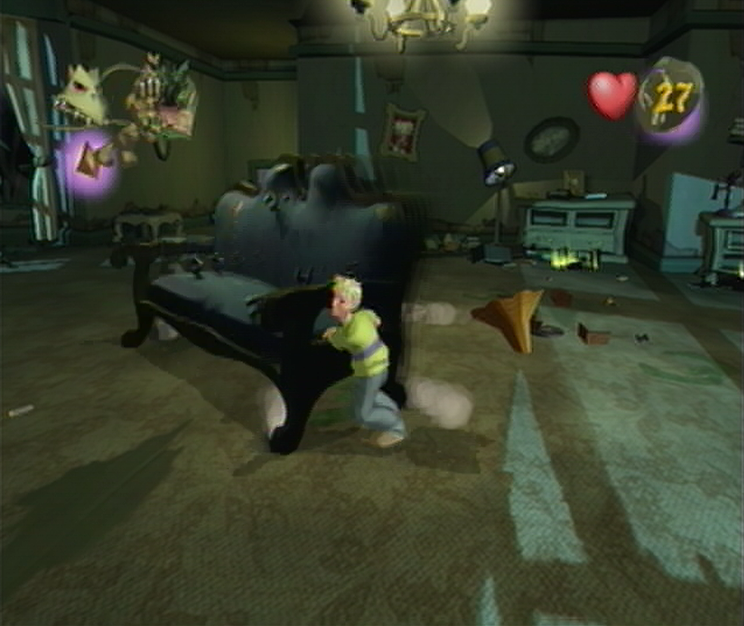
![]() If you’ve still got a few Flying Imps soaring, theres a collection of decanters on Crivens’ bed that you can use to pick off the final few, otherwise a second wave of Flying Imps will burst in from the windows giving you twice the trouble! Luckily these new Imps will have difficulty in managing their numbers, so if you circle around the room and let them dive into the ground, chances are that you’ll cause two to collide and effectively defeat each other in the process. There’s still a few items that you can use, such as a large pan that can be found next to Crivens wardrobe to be used when the Imps have gotten themselves stuck in the flooring. Once you’ve managed to run out of items, you’ll move onto the last hidden weapon; the large couch in the center of the room. In similar fashion to the Pool Table we used to sweep out the Skeletons in Chapter 1, we’ll have to lure the Flying Imps to surround the couch and then send it spinning when appropriate.
If you’ve still got a few Flying Imps soaring, theres a collection of decanters on Crivens’ bed that you can use to pick off the final few, otherwise a second wave of Flying Imps will burst in from the windows giving you twice the trouble! Luckily these new Imps will have difficulty in managing their numbers, so if you circle around the room and let them dive into the ground, chances are that you’ll cause two to collide and effectively defeat each other in the process. There’s still a few items that you can use, such as a large pan that can be found next to Crivens wardrobe to be used when the Imps have gotten themselves stuck in the flooring. Once you’ve managed to run out of items, you’ll move onto the last hidden weapon; the large couch in the center of the room. In similar fashion to the Pool Table we used to sweep out the Skeletons in Chapter 1, we’ll have to lure the Flying Imps to surround the couch and then send it spinning when appropriate.
STUCK IN THE MIDDLE WITH THE BARONS LITTLE RIDDLE
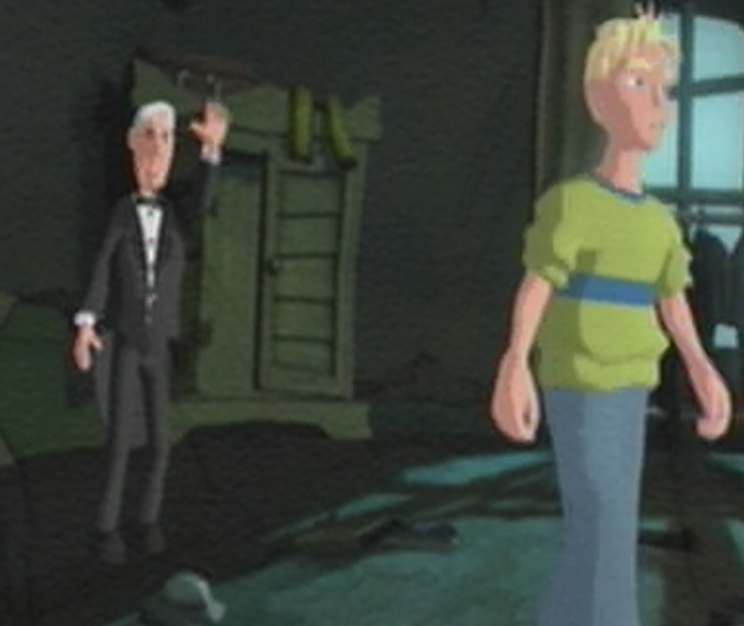
![]() After Cooper knocks the final Flying Imp straight into the wardrobe, Crivens opens the door nervously and peers out to survey the damage. “My, oh my!” he breathes, taking it all in, “What a rotten mess those Imps have made. I fear Ms. Buffbrass is not going to like this one little bit!” Pulling his view away from the dormant Imp bodies littering the room, Crivens turns to look down at Cooper, “Now, I hear young sir is to try to help the unfortunate souls that have been imprisoned in this no-good house?” Cooper nods sheepishly as Crivens extends an arm to pat him on the shoulder, “Most brave of you, Sir! Now, the only person who has the key to unlock these poor wretches is Baron Von Ghoul himself! However, I’m afraid that his quarters is sealed by a powerful magical rhyme!” Coopers defeated disposition comes rushing back to him as Crivens thinks for a moment, “I once had the very rhyme written down, but that uncouth Fiddlesworth told the Baron and he confiscated it.”
After Cooper knocks the final Flying Imp straight into the wardrobe, Crivens opens the door nervously and peers out to survey the damage. “My, oh my!” he breathes, taking it all in, “What a rotten mess those Imps have made. I fear Ms. Buffbrass is not going to like this one little bit!” Pulling his view away from the dormant Imp bodies littering the room, Crivens turns to look down at Cooper, “Now, I hear young sir is to try to help the unfortunate souls that have been imprisoned in this no-good house?” Cooper nods sheepishly as Crivens extends an arm to pat him on the shoulder, “Most brave of you, Sir! Now, the only person who has the key to unlock these poor wretches is Baron Von Ghoul himself! However, I’m afraid that his quarters is sealed by a powerful magical rhyme!” Coopers defeated disposition comes rushing back to him as Crivens thinks for a moment, “I once had the very rhyme written down, but that uncouth Fiddlesworth told the Baron and he confiscated it.”
![]() “The master ripped it up into three pieces and hid them in the far flung reaches of the house!” A look of bewilderment washed over Coopers’ face. “Don’t be disheartened, young sir! I happen to know exactly where they are!” Crivens pursed his face as though recalling a long lost memory, “There’s one piece in the Greenhouse, another in the Stables and… Let’s see… Yes! I do recall that the final piece is held by the rather mad Dr. Krackpot in his Ghouly-making laboratory!” Crivens finished as calmly as though he had been telling Cooper the weather. “May I recommend that you start with the Greenhouse? Go upstairs and down the Infirmary fire escape. From there it’s just a short stroll across the lawns and through the Cottage Garden. Good luck, Sir!” Crivens gives a curt wave as Cooper is tasked with yet another cumbersome objective. Once you’ve managed to regain control it’s just a matter of finding the exit of Criven’s Quarters, which can be found where you came through initially.
“The master ripped it up into three pieces and hid them in the far flung reaches of the house!” A look of bewilderment washed over Coopers’ face. “Don’t be disheartened, young sir! I happen to know exactly where they are!” Crivens pursed his face as though recalling a long lost memory, “There’s one piece in the Greenhouse, another in the Stables and… Let’s see… Yes! I do recall that the final piece is held by the rather mad Dr. Krackpot in his Ghouly-making laboratory!” Crivens finished as calmly as though he had been telling Cooper the weather. “May I recommend that you start with the Greenhouse? Go upstairs and down the Infirmary fire escape. From there it’s just a short stroll across the lawns and through the Cottage Garden. Good luck, Sir!” Crivens gives a curt wave as Cooper is tasked with yet another cumbersome objective. Once you’ve managed to regain control it’s just a matter of finding the exit of Criven’s Quarters, which can be found where you came through initially.
HOUSEKEEPING STORE
![]() Upon returning to the Housekeeping Store you should take immediate notice to the eerily quiet nature. Don’t let your guard down, this is how our new breed of Ghouly likes to hide until it’s exposed. To have the upper hand from the get go, we’ll use this moment of silence to our advantage by smashing the portraits around the room first. From your current position, head to the left and break the Medusa portrait on its side to reveal an Energy Boost Soup Tin that will increase your health by 10 units. Once you’ve managed that, venture over to the right side of the room and you’ll spot two portraits across from each other; a landscape of Ghoulhaven Hall and a Golden Jigsaw Piece from the Banjo-Kazooie series. Destroy their frames to discover a Turbo Cooper! and Knock Down Mania! Soup Tin respectively, but do not pick them up just yet. Instead, we’ll need to go around the quarters and break every wardrobe around the quarters just as you would have done to expose the hidden Key the last time.
Upon returning to the Housekeeping Store you should take immediate notice to the eerily quiet nature. Don’t let your guard down, this is how our new breed of Ghouly likes to hide until it’s exposed. To have the upper hand from the get go, we’ll use this moment of silence to our advantage by smashing the portraits around the room first. From your current position, head to the left and break the Medusa portrait on its side to reveal an Energy Boost Soup Tin that will increase your health by 10 units. Once you’ve managed that, venture over to the right side of the room and you’ll spot two portraits across from each other; a landscape of Ghoulhaven Hall and a Golden Jigsaw Piece from the Banjo-Kazooie series. Destroy their frames to discover a Turbo Cooper! and Knock Down Mania! Soup Tin respectively, but do not pick them up just yet. Instead, we’ll need to go around the quarters and break every wardrobe around the quarters just as you would have done to expose the hidden Key the last time.
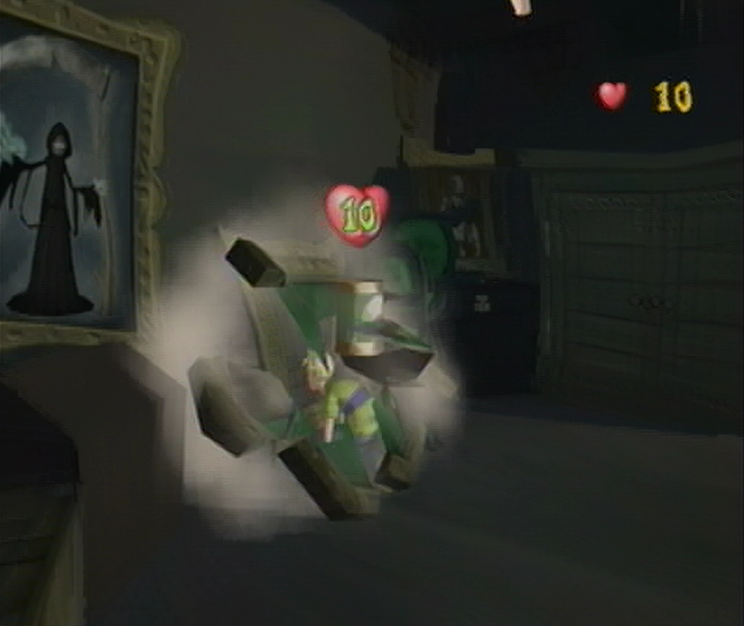
![]() If you’ve found yourself crashing down on the correct cabinet, you’ll discover your newest Ghouly; the Warlock! This surly sorcerer is quite the adversary, as you’ll only have a limited time to rush after him and get some hits in before he’s used his magic to whisk himself to another area of the room, leaving you to play a game of catchup. This window of opportunity is lessened given that he’ll bombard you with a number of spells reflecting his total health; the more damage he accumulates, the more spells he’ll toss your way before teleporting. Luckily we’ll have the aid of the Super Soups to make our job a little easier, and once the battle has begun we’ll rush back and collect the Turbo Cooper! and Knock-Down Mania! Tins. You’ll then have to quickly dash over to the Warlock the second he manages to teleport to a new area and then start dishing out the damage. The Knock-Down Mania Tin will take away 10 health without wasting time trying to get the geezer into a dizzied state.
If you’ve found yourself crashing down on the correct cabinet, you’ll discover your newest Ghouly; the Warlock! This surly sorcerer is quite the adversary, as you’ll only have a limited time to rush after him and get some hits in before he’s used his magic to whisk himself to another area of the room, leaving you to play a game of catchup. This window of opportunity is lessened given that he’ll bombard you with a number of spells reflecting his total health; the more damage he accumulates, the more spells he’ll toss your way before teleporting. Luckily we’ll have the aid of the Super Soups to make our job a little easier, and once the battle has begun we’ll rush back and collect the Turbo Cooper! and Knock-Down Mania! Tins. You’ll then have to quickly dash over to the Warlock the second he manages to teleport to a new area and then start dishing out the damage. The Knock-Down Mania Tin will take away 10 health without wasting time trying to get the geezer into a dizzied state.
![]() Once you’ve managed to knock down the Warlock, be on your toes and keep an eye out for where the he might appear next; it might be on the opposite side of the room but its not uncommon for him to reappear where you’ve just finished with him. After you’ve managed to keep this volley up for a while your Soups will begin to wear thin. If you’ve managed to leave the Warlock with an inkling of health you should be able to grab one of the Cardboard Boxes nearest the Challenge Door or central wardrobe to finish him off; just be sure to send one his way before he’s gotten a chance to cast a spell or your package won’t meet its intended target. Once you’ve managed to defeat the Warlock you’ll have to brave one last task before you progress ahead, and that’s surviving the Super Scary Shock hidden inside the Washing Machine next to the exit. If you’ve managed to keep your total health above 10 this shouldn’t cause much worry, just solve the sequence and you’re free!
Once you’ve managed to knock down the Warlock, be on your toes and keep an eye out for where the he might appear next; it might be on the opposite side of the room but its not uncommon for him to reappear where you’ve just finished with him. After you’ve managed to keep this volley up for a while your Soups will begin to wear thin. If you’ve managed to leave the Warlock with an inkling of health you should be able to grab one of the Cardboard Boxes nearest the Challenge Door or central wardrobe to finish him off; just be sure to send one his way before he’s gotten a chance to cast a spell or your package won’t meet its intended target. Once you’ve managed to defeat the Warlock you’ll have to brave one last task before you progress ahead, and that’s surviving the Super Scary Shock hidden inside the Washing Machine next to the exit. If you’ve managed to keep your total health above 10 this shouldn’t cause much worry, just solve the sequence and you’re free!
GRAND HALLWAY

![]() Welcome back to the Grand Hall! Right, you haven’t been put on good terms to start out health-wise, so it’s best to avoid the Haunted Portraits and then continue over to the left hand side of the main floor here. Once you’ve done a bit of a jog you should manage to spot a large pillar in front of a bench against the wall, tucked neatly between two Thorned Challenge Doors. Whip yourself around the pillar to the unseen bit facing the bench and you’ll discover an Invisibility! Super Soup Tin waiting to be picked up. Under the guise of the Invisibility Tin, work your way toward the grand staircase housing a trio of equipped Skeletons and sneak your way past them; given your current health and timely nature of the Soup Tin you’ll want to avoid picking a fight at all costs. Once you’ve managed that, it’s just a case of taking an immediate right at the second set of stairs and squeezing in between the two Zombie Pirates waiting at the top and then heading left towards the Challenge Door.
Welcome back to the Grand Hall! Right, you haven’t been put on good terms to start out health-wise, so it’s best to avoid the Haunted Portraits and then continue over to the left hand side of the main floor here. Once you’ve done a bit of a jog you should manage to spot a large pillar in front of a bench against the wall, tucked neatly between two Thorned Challenge Doors. Whip yourself around the pillar to the unseen bit facing the bench and you’ll discover an Invisibility! Super Soup Tin waiting to be picked up. Under the guise of the Invisibility Tin, work your way toward the grand staircase housing a trio of equipped Skeletons and sneak your way past them; given your current health and timely nature of the Soup Tin you’ll want to avoid picking a fight at all costs. Once you’ve managed that, it’s just a case of taking an immediate right at the second set of stairs and squeezing in between the two Zombie Pirates waiting at the top and then heading left towards the Challenge Door.