Chapter 2-2: Eggs for Cracking, Ghoulies for Smacking


Navigation:
Chapter 1: The Rescue
Chapter 2: The Restoration
-2-1: Ingress with Ingredients
-2-2: Eggs for cracking, Ghoulies for smacking
-2-3: Someone has a Bone to pick with you…
-2-4: Sugar, Spice and Dungweed
-2-5: A Curious Concoction
-2-6: Too many cooks spoil the broth
Chapter 3: The Riddle
Chapter 4: The Reckoning
Chapter 5: The Race
THE EERIE BIRD FOLLOWS THE WORM

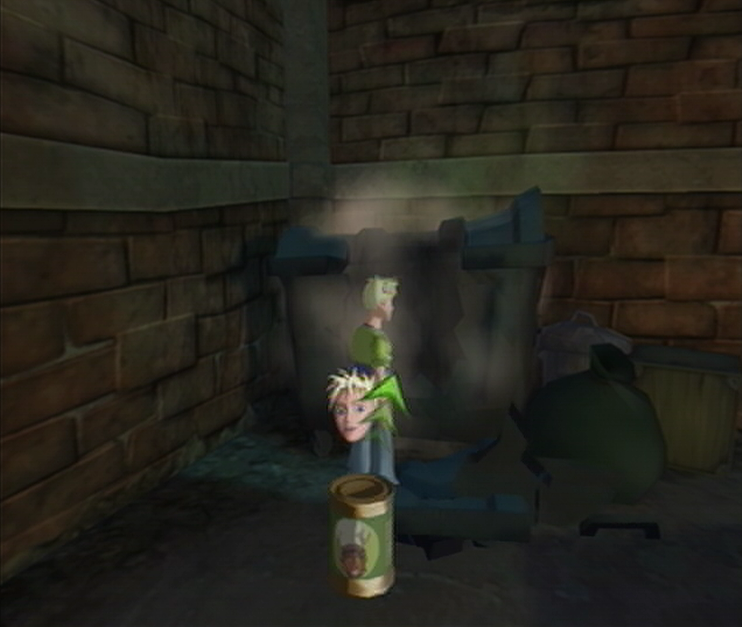
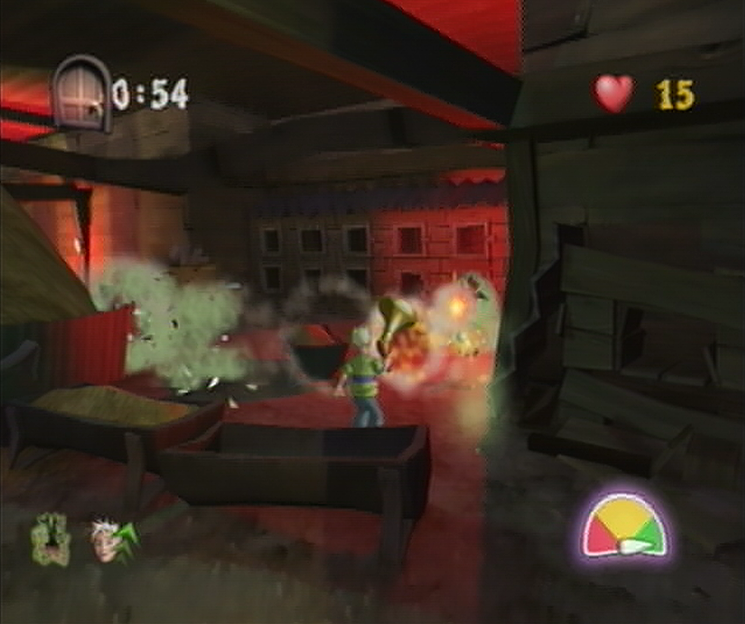
![]() Right, just two more ingredients now before we can return Amber back to her less-repulsive self. Now that we’ve entered the Ffffreezer your health will drop down to a just 15 Points; definitely not the best state to go about attacking a freezer filled with frozen frights. Fortunately you won’t need to face any, provided you don’t bash open the large freezer located in the center of this room. Since your Time Taken should be just over half an hour at this point, it would be best to bee-line for the exit and avoid any confrontation altogether. From where you stand at the front of Ffffreezer, make your way out into the open and resist cracking open any Freezers found throughout this chamber. While the Ghoulies inside are friendly, you’ll find without anyone to fight, they’ll come after you instead. Carry on past the center freezer and you should manage to spot a green shelf ahead, once you’ve reached it turn to your immediate left and you’ll locate the alluring open Challenge Door.
Right, just two more ingredients now before we can return Amber back to her less-repulsive self. Now that we’ve entered the Ffffreezer your health will drop down to a just 15 Points; definitely not the best state to go about attacking a freezer filled with frozen frights. Fortunately you won’t need to face any, provided you don’t bash open the large freezer located in the center of this room. Since your Time Taken should be just over half an hour at this point, it would be best to bee-line for the exit and avoid any confrontation altogether. From where you stand at the front of Ffffreezer, make your way out into the open and resist cracking open any Freezers found throughout this chamber. While the Ghoulies inside are friendly, you’ll find without anyone to fight, they’ll come after you instead. Carry on past the center freezer and you should manage to spot a green shelf ahead, once you’ve reached it turn to your immediate left and you’ll locate the alluring open Challenge Door.
GARBAGE YARD
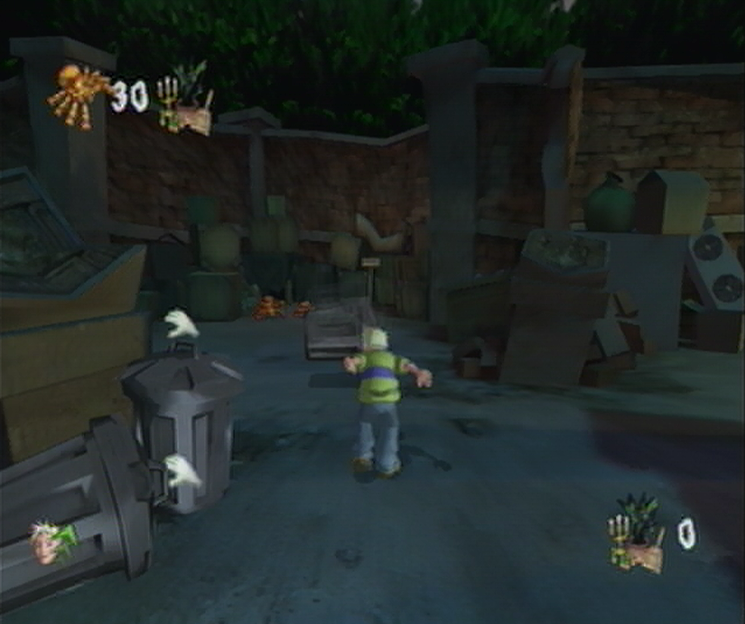
![]() At first glance, the Garbage Yard seems just as vacant as the Ffffreezer – don’t let your guard down however, as a Ghouly Ambush is headed your way… From where you stand at the top of the Garbage Ramp, you’ll need to descend toward a large dumpster found wedged in the corner. Crack the front open and your efforts will be rewarded with a Turbo Cooper! Soup Tin. Work your way through the Yard until you’ve come across a yellow U-Dump Dumpster to the left. Once you carry on ahead and find yourself between the Garbage Can piles and the Challenge Door ahead will slam in defiance. So much for an easy way out. In response you’ll find a total of 12 Spiders have splattered in pairs of 3 around the Garbage Yard. Once you’ve regained control, it’s better not to run in to do battle, but instead pick up the garbage cans to your left or right. Since the Spiders are motionless and grouped in threes, locate each ‘gathering’ essentially and fling a can towards them.
At first glance, the Garbage Yard seems just as vacant as the Ffffreezer – don’t let your guard down however, as a Ghouly Ambush is headed your way… From where you stand at the top of the Garbage Ramp, you’ll need to descend toward a large dumpster found wedged in the corner. Crack the front open and your efforts will be rewarded with a Turbo Cooper! Soup Tin. Work your way through the Yard until you’ve come across a yellow U-Dump Dumpster to the left. Once you carry on ahead and find yourself between the Garbage Can piles and the Challenge Door ahead will slam in defiance. So much for an easy way out. In response you’ll find a total of 12 Spiders have splattered in pairs of 3 around the Garbage Yard. Once you’ve regained control, it’s better not to run in to do battle, but instead pick up the garbage cans to your left or right. Since the Spiders are motionless and grouped in threes, locate each ‘gathering’ essentially and fling a can towards them.
![]() With any luck you’ll manage to use your bounding bin to squash all three Spiders in their collective group, if you do miss one however, just move onto the next pile rather than trying a second attempt. You’ll find the first group just to the left of your position nearest the large Garbage Yard Doors and the second group can be found in front of a window to the right, nearly symmetrical to the first group. You’ll find the next group directly behind your current position, you’ll need to grab a new Garbage Can and whip it around to hit the Spiders waiting at the end of the U-Dump Dumpster area. The final group can be found tucked in the corner hiding behind the U-Dump Dumpster, you’ll need to grab your forth and final can to take them out from in front of the U-Dump. You’ll have a limited time before the Spiders begin to move, so try your best to clear them all out. If you have any Spiders left over there are plenty of objects in the Yard that you can use without breaking the rules.
With any luck you’ll manage to use your bounding bin to squash all three Spiders in their collective group, if you do miss one however, just move onto the next pile rather than trying a second attempt. You’ll find the first group just to the left of your position nearest the large Garbage Yard Doors and the second group can be found in front of a window to the right, nearly symmetrical to the first group. You’ll find the next group directly behind your current position, you’ll need to grab a new Garbage Can and whip it around to hit the Spiders waiting at the end of the U-Dump Dumpster area. The final group can be found tucked in the corner hiding behind the U-Dump Dumpster, you’ll need to grab your forth and final can to take them out from in front of the U-Dump. You’ll have a limited time before the Spiders begin to move, so try your best to clear them all out. If you have any Spiders left over there are plenty of objects in the Yard that you can use without breaking the rules.
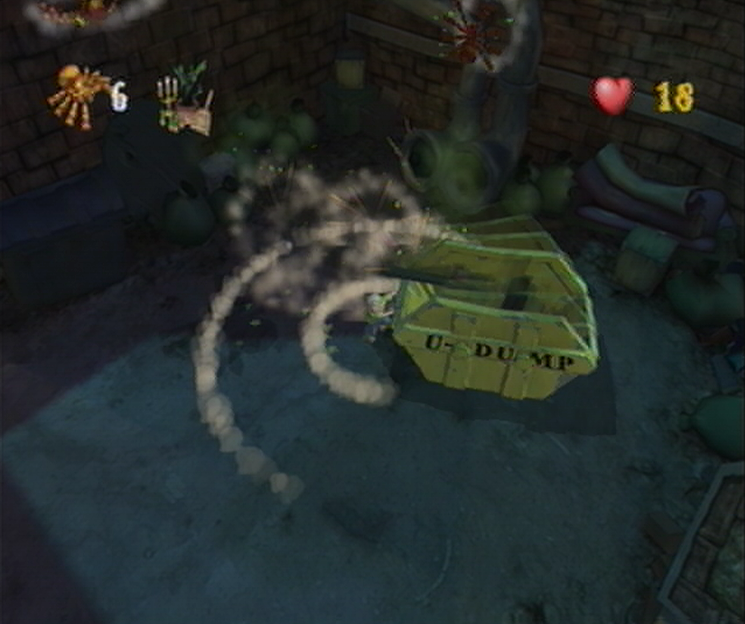
![]() Once you’ve managed to clear out all twelve Spiders, you’ll find the remaining eighteen Spiders pouring in from all sides of the Yard. If you’ve left a few Garbage cans remaining, you’re free to use them to take out the cluster of Spiders that stalk you around the yard, otherwise you’ll find a Mini-Cooper! Soup Tin nearest the Challenge Door and in front of the large window where the second Spider group could be seen. Once you’ve exhausted your Soup supply there’s plenty of old rubbish that you can use around the Yard, such as chairs, brooms and ladders. If you can manage to get a steady crowd pursuing you as their numbers really start dwindling, lead them back to the U-Dump Dumpster and lure them around the perimeter until you’re certain they’re as near as possible, then press A to rotate the U-Dump! Take out any left over Spiders with the objects left over; once the challenge is complete you’re free to use your fists to take out the six remaining Spiders before heading off to the exit.
Once you’ve managed to clear out all twelve Spiders, you’ll find the remaining eighteen Spiders pouring in from all sides of the Yard. If you’ve left a few Garbage cans remaining, you’re free to use them to take out the cluster of Spiders that stalk you around the yard, otherwise you’ll find a Mini-Cooper! Soup Tin nearest the Challenge Door and in front of the large window where the second Spider group could be seen. Once you’ve exhausted your Soup supply there’s plenty of old rubbish that you can use around the Yard, such as chairs, brooms and ladders. If you can manage to get a steady crowd pursuing you as their numbers really start dwindling, lead them back to the U-Dump Dumpster and lure them around the perimeter until you’re certain they’re as near as possible, then press A to rotate the U-Dump! Take out any left over Spiders with the objects left over; once the challenge is complete you’re free to use your fists to take out the six remaining Spiders before heading off to the exit.
WOOD SHED

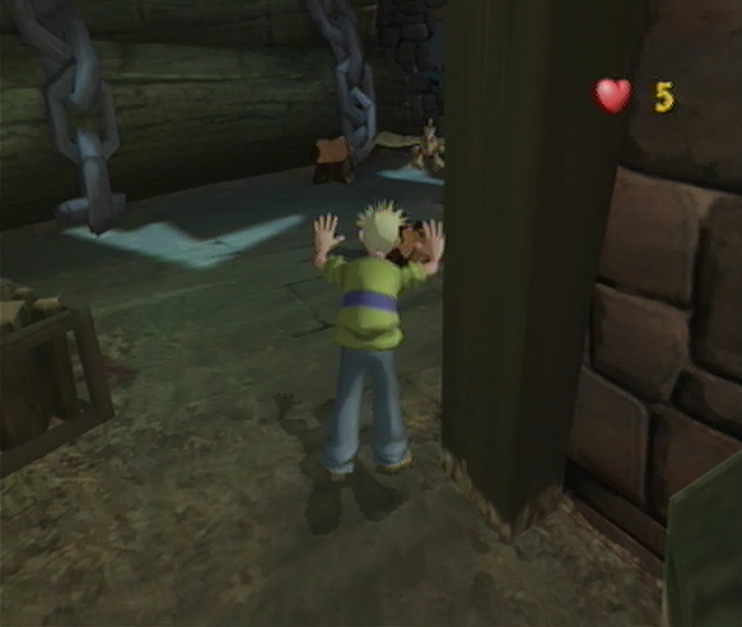
![]() The Woodshed is an extremely dangerous ground to be treading on, as you’ll only be supplied with a meager 3 energy to take you through the room which is set up like a maze and you’ll be constantly assaulted by the new breed of Ghouly; the Flying Imp. It’s easily comparable to the challenge set in the Lower Corridor with the Ninja Imps, except this time it’s been drawn out to torturous extremes. Just like the Lower Corridors it’s not worth running through trying to survive, it’s best to have a strategy, and this time we’ll be going out fighting! The first thing you’ll want to do is take out all of the Ghoulies in the main area, the most imperative being the Flying Imp as it will try attacking you the second your health has been decided. The best way to ground these Ghoulies is to bludgeon them with a Tree Stump, which can be found in plenty of supply around the Wood Shed. Once you manage to pick one up, keep your distance and launch one at a Flying Imp to take it out in a single hit.
The Woodshed is an extremely dangerous ground to be treading on, as you’ll only be supplied with a meager 3 energy to take you through the room which is set up like a maze and you’ll be constantly assaulted by the new breed of Ghouly; the Flying Imp. It’s easily comparable to the challenge set in the Lower Corridor with the Ninja Imps, except this time it’s been drawn out to torturous extremes. Just like the Lower Corridors it’s not worth running through trying to survive, it’s best to have a strategy, and this time we’ll be going out fighting! The first thing you’ll want to do is take out all of the Ghoulies in the main area, the most imperative being the Flying Imp as it will try attacking you the second your health has been decided. The best way to ground these Ghoulies is to bludgeon them with a Tree Stump, which can be found in plenty of supply around the Wood Shed. Once you manage to pick one up, keep your distance and launch one at a Flying Imp to take it out in a single hit.
![]() Once you’ve done that, travel the perimeter of the room to collect the Health Soup Tins that lie out in the open and then go about breaking the crates the line the edges -except the ones near the exit – to find further Health Soup Tins that will go to providing you more ample energy. After you’ve built up a good defense, it’s time to go on the offense; approach the center of the room to coax the Spiders into dropping down where you can get at them. Don’t bother wasting any of the Stumps around the room on these annoying arachnids, you should be able to take care of all five Spiders with a round of swift kicks before any of them begin their rolling attacks to dish out the damage. For the last task in this room you’ll need to head toward the log path that leads out of this area where you should manage to see a large blue crate. Once you’ve gotten close enough you’ll find your next Flying Imp hiding inside, grab a new Stump and take care of him before it’s gotten too close.
Once you’ve done that, travel the perimeter of the room to collect the Health Soup Tins that lie out in the open and then go about breaking the crates the line the edges -except the ones near the exit – to find further Health Soup Tins that will go to providing you more ample energy. After you’ve built up a good defense, it’s time to go on the offense; approach the center of the room to coax the Spiders into dropping down where you can get at them. Don’t bother wasting any of the Stumps around the room on these annoying arachnids, you should be able to take care of all five Spiders with a round of swift kicks before any of them begin their rolling attacks to dish out the damage. For the last task in this room you’ll need to head toward the log path that leads out of this area where you should manage to see a large blue crate. Once you’ve gotten close enough you’ll find your next Flying Imp hiding inside, grab a new Stump and take care of him before it’s gotten too close.

![]() As you make your way through the log labyrinth you’ll find that there are a number of Stumps that litter the area; some Stumps will serve the same purpose to you as before, in that you can use them to take out future Flying Imps, others will house Flying Imps inside, so take care of a single Flying Imp at a time before heading off to the next Stump that you might see ahead. You should manage to deal with four Flying Imps and a duo of Spiders before coming across a small plant in the corner harboring a trio of Spiders, nearly finished yet! Take them out with your fists and then make your way around the final log where you’ll come across a Medusa. While you’ll naturally want to avoid the Medusa’s deadly glare, as it’ll drain your health and then some, you’ll also want to avoid grabbing the final Stump ahead, as two Flying Imps are hiding inside. Weasel your way by both the Medusa and the remaining Flying Imps to locate the open Challenge Door, then travel through it to the Farmyard.
As you make your way through the log labyrinth you’ll find that there are a number of Stumps that litter the area; some Stumps will serve the same purpose to you as before, in that you can use them to take out future Flying Imps, others will house Flying Imps inside, so take care of a single Flying Imp at a time before heading off to the next Stump that you might see ahead. You should manage to deal with four Flying Imps and a duo of Spiders before coming across a small plant in the corner harboring a trio of Spiders, nearly finished yet! Take them out with your fists and then make your way around the final log where you’ll come across a Medusa. While you’ll naturally want to avoid the Medusa’s deadly glare, as it’ll drain your health and then some, you’ll also want to avoid grabbing the final Stump ahead, as two Flying Imps are hiding inside. Weasel your way by both the Medusa and the remaining Flying Imps to locate the open Challenge Door, then travel through it to the Farmyard.
FARMYARD
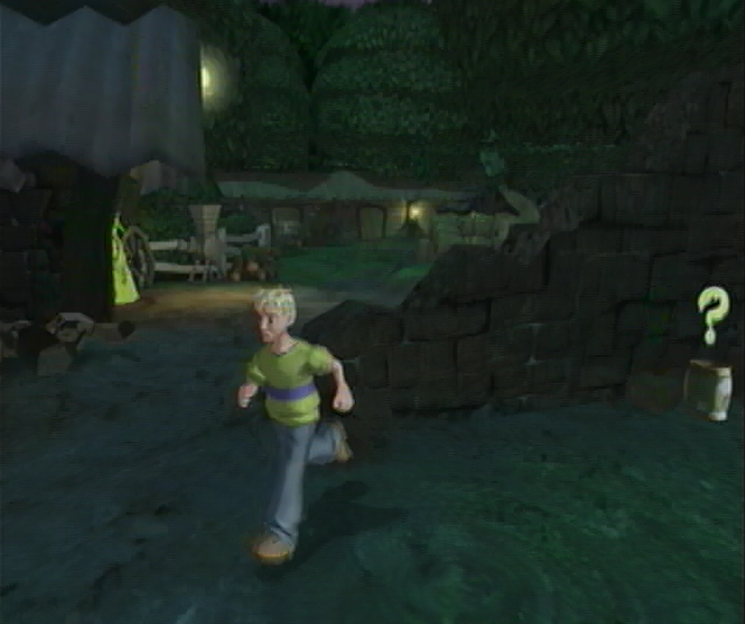
![]() As soon as you step foot onto the Farmyard you’ll manage to see a familiar face from the Boathouse; it’s Ol’ Fiddlesworth, who seems to be having a little bit of trouble with an Imp attacking his shins. Before you go sprinting off to help the grown man keep the small Imp at bay, it’s worth your while to explore your surroundings first, in particular the crumbly stone wall to your immediate right. Make your way to the opposite side of this stone wall and you’ll spot a Challenge Complete! Soup Tin. Do not pick up this Soup Tin just yet, as it won’t do anything until a challenge has been set, otherwise you’ll have just wasted it. Do remember where its location is though, as you’ll need to return to this spot later. For now, you’ll just need to concern yourself with getting the Imp off of Fiddlesworths’ back. After you’ve plowed into the Imp will you discover his alliance with the other Ghoulies as Roger the Cabin Boy, who only had two more days until his retirement. This can’t be good…
As soon as you step foot onto the Farmyard you’ll manage to see a familiar face from the Boathouse; it’s Ol’ Fiddlesworth, who seems to be having a little bit of trouble with an Imp attacking his shins. Before you go sprinting off to help the grown man keep the small Imp at bay, it’s worth your while to explore your surroundings first, in particular the crumbly stone wall to your immediate right. Make your way to the opposite side of this stone wall and you’ll spot a Challenge Complete! Soup Tin. Do not pick up this Soup Tin just yet, as it won’t do anything until a challenge has been set, otherwise you’ll have just wasted it. Do remember where its location is though, as you’ll need to return to this spot later. For now, you’ll just need to concern yourself with getting the Imp off of Fiddlesworths’ back. After you’ve plowed into the Imp will you discover his alliance with the other Ghoulies as Roger the Cabin Boy, who only had two more days until his retirement. This can’t be good…
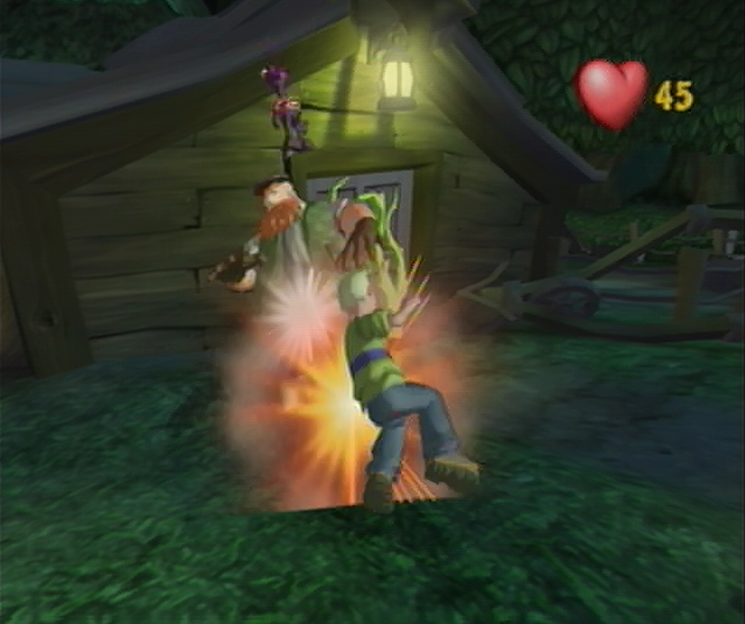
![]() After the Captain has finished his speech the hidden Ghoulies will expose themselves as the Farmyard fills up with a pair of Zombies, Ninja Imps, Flying Imps, and Skeletons with the Captain leading the fray. You’ll be given a single minute to brawl with the lot or else the Reaper will make an appearance! While your main priority will be retrieving the Challenge Complete! Soup Tin, there’s plenty of time to take out some select Ghoulies to increase your Ghoulies Defeated score. From where you start off, defeat the two Ninja Imps to your immediate left and then finish off the Flying Imps. Work your way to the Zombie Pirate afterwards and use his own dropped sword against him for a single hit takedown. Now that you’ve gotten rid of all the weaker Ghoulies, it’s time to grab the Challenge Complete! Soup Tin from behind the crumbly wall. Once you’ve done that, the challenge will not only complete, but you won’t even have to waste time walking back to Fiddlesworth.
After the Captain has finished his speech the hidden Ghoulies will expose themselves as the Farmyard fills up with a pair of Zombies, Ninja Imps, Flying Imps, and Skeletons with the Captain leading the fray. You’ll be given a single minute to brawl with the lot or else the Reaper will make an appearance! While your main priority will be retrieving the Challenge Complete! Soup Tin, there’s plenty of time to take out some select Ghoulies to increase your Ghoulies Defeated score. From where you start off, defeat the two Ninja Imps to your immediate left and then finish off the Flying Imps. Work your way to the Zombie Pirate afterwards and use his own dropped sword against him for a single hit takedown. Now that you’ve gotten rid of all the weaker Ghoulies, it’s time to grab the Challenge Complete! Soup Tin from behind the crumbly wall. Once you’ve done that, the challenge will not only complete, but you won’t even have to waste time walking back to Fiddlesworth.
BURGLARIZING THE BARONS’ BREAKFAST
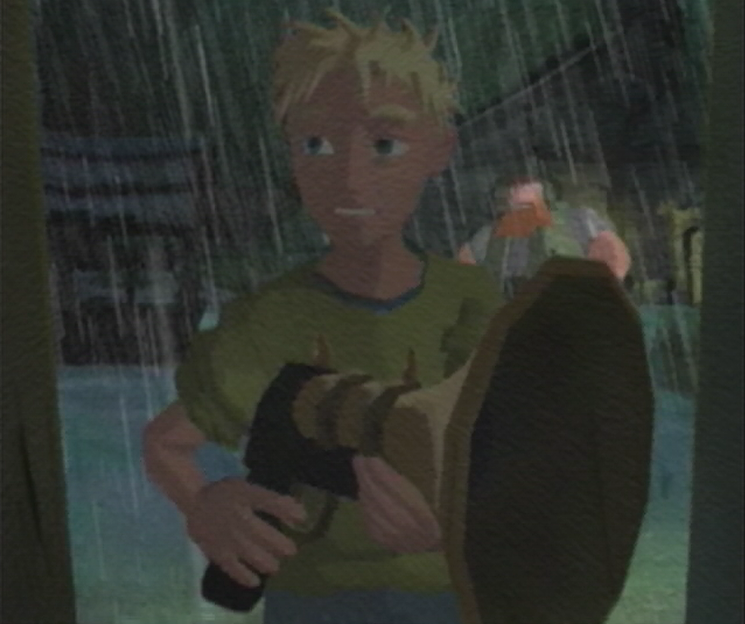
![]() Thanks for all the help Fiddlesworth, nobody quite stands as idly by as you do. No use holding a grudge however, as Fiddlesworth is about to pull through in his area of expertise; offering highly dangerous weaponry to children. From within his large green vest, Fiddlesworth withdraws a small pistol that looks like it swallowed a musket. “This be Ol’ Edna!” Fiddlesworth says, rapping his fingers across the mouth of the firearm. “Giant cloves of me most pungent and an’ potent garlic she be shootin’. Jus’ what yer be needin’ in there!”. Cooper cocks his head as he handles the gun, looking up toward Fiddlesworth for some much-needed reassurance. “A bit dubious lookin’ an’ well-used she may be, but what she be lackin’ in looks, she more than makes up fer in ‘er performance” Cooper nods, making his way to the entrance. “Take good care of ‘er lad. Me an’ Edna ‘ave ‘ad some ripe ‘ol times t’gether!” Fiddlesworth watches on as Cooper is engulfed by the darkness…
Thanks for all the help Fiddlesworth, nobody quite stands as idly by as you do. No use holding a grudge however, as Fiddlesworth is about to pull through in his area of expertise; offering highly dangerous weaponry to children. From within his large green vest, Fiddlesworth withdraws a small pistol that looks like it swallowed a musket. “This be Ol’ Edna!” Fiddlesworth says, rapping his fingers across the mouth of the firearm. “Giant cloves of me most pungent and an’ potent garlic she be shootin’. Jus’ what yer be needin’ in there!”. Cooper cocks his head as he handles the gun, looking up toward Fiddlesworth for some much-needed reassurance. “A bit dubious lookin’ an’ well-used she may be, but what she be lackin’ in looks, she more than makes up fer in ‘er performance” Cooper nods, making his way to the entrance. “Take good care of ‘er lad. Me an’ Edna ‘ave ‘ad some ripe ‘ol times t’gether!” Fiddlesworth watches on as Cooper is engulfed by the darkness…
CHICKEN SHED
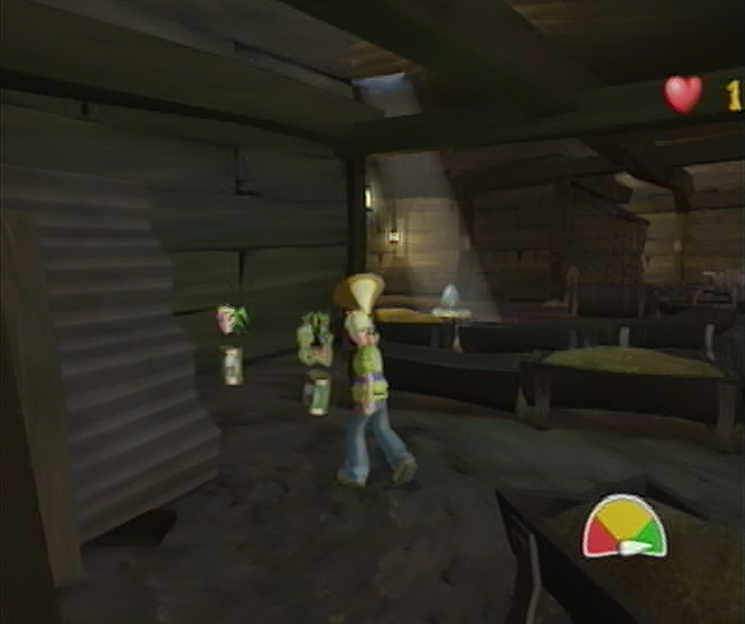
![]() It’s standard fare inside the Chicken Shed; you’ll be shown where to find the Giant Egg once you’ve carried on far enough and it’s just a matter of navigating through the hay-bale hallways in linear fashion until you’ve arrived at the nest harboring the Egg in question. You may run into some trouble with your new breed of Ghouly however; the Vampire Chicken! If you happen to cross paths with these foul fowls they can be taken care of with a single garlic shot from Ol’ Edna, but otherwise you won’t be able to harm them as they jump onto your neck and err…peck your blood. They can also divebomb into you with a little charge up causing 4 damage to Coopers energy. The normal Chickens identified by their lighter auburn feathers shouldn’t cause you any trouble unless you manage to provoke them, in which case they’ll undergo a transformation to become Vampire Chickens themselves. You’ll only bump into one Vampire Chicken during your initial run to the Egg, so fire accurately!
It’s standard fare inside the Chicken Shed; you’ll be shown where to find the Giant Egg once you’ve carried on far enough and it’s just a matter of navigating through the hay-bale hallways in linear fashion until you’ve arrived at the nest harboring the Egg in question. You may run into some trouble with your new breed of Ghouly however; the Vampire Chicken! If you happen to cross paths with these foul fowls they can be taken care of with a single garlic shot from Ol’ Edna, but otherwise you won’t be able to harm them as they jump onto your neck and err…peck your blood. They can also divebomb into you with a little charge up causing 4 damage to Coopers energy. The normal Chickens identified by their lighter auburn feathers shouldn’t cause you any trouble unless you manage to provoke them, in which case they’ll undergo a transformation to become Vampire Chickens themselves. You’ll only bump into one Vampire Chicken during your initial run to the Egg, so fire accurately!
![]() Once you manage to make it to the Giant Egg at the end of the path, you’ll collect it seemingly without issue, but once you’re back on the path Baron Von Ghoul will send his feathered friends after you. Quickly make your way back through the first pathway of troughs and you should manage to spot a piece of tin roof leaning against an unfinished coop. Send a clove of garlic firing into it and you’ll cause a Turbo Cooper!, and Super Weapons! Soup Tin to jut out from within. Snatch them up quickly and then work your way back to the entrance by taking out the Vampire Chickens that stand in your way. You’ll have to survive for an entire minute before the Challenge Door opens up once more, and even with your Turbo speed in check you won’t reach it before the minute is up, so take careful aim to defeat all 22 Vampire Chickens before your time is up. Savor the time you have increasing your Ghoulies Defeated score and then make your way through the open Challenge Door.
Once you manage to make it to the Giant Egg at the end of the path, you’ll collect it seemingly without issue, but once you’re back on the path Baron Von Ghoul will send his feathered friends after you. Quickly make your way back through the first pathway of troughs and you should manage to spot a piece of tin roof leaning against an unfinished coop. Send a clove of garlic firing into it and you’ll cause a Turbo Cooper!, and Super Weapons! Soup Tin to jut out from within. Snatch them up quickly and then work your way back to the entrance by taking out the Vampire Chickens that stand in your way. You’ll have to survive for an entire minute before the Challenge Door opens up once more, and even with your Turbo speed in check you won’t reach it before the minute is up, so take careful aim to defeat all 22 Vampire Chickens before your time is up. Savor the time you have increasing your Ghoulies Defeated score and then make your way through the open Challenge Door.
KEEPING THE EGG (AND COOPER) INTACT

![]() Breathing a heavy sigh of relief Cooper steps through the Chicken Shed door and back into the moonlight, the heavy Egg rests on his shoulder as Ol’ Edna hangs at his side. Fiddlesworth smiles at the sight of Cooper emerging in one piece – and more imporantly – with Ol’ Edna still in his possession as well. The groundskeeper raises a hand to wave as an exhausted Cooper shows off the Giant Egg with a gingerly smile. “Trample my turnips!” Fiddlesworth exclaims, That be a big ‘un young master! I guess you won’ need Ol’ Edna fer the time bein’.” Fiddlesworth frees Coopers hands to handle the Egg as he examines Ol’ Edna. “I’ll take ‘er off yer ‘ands ‘an give ‘er a good wipe with me rag.” As the duo continue their banter, somewhere on the fringes of the Farmyard the bushes rustle with activity. A lone figure has popped up from underneath the fauna, his polished head beaming in the moonlight and his eyes fixated on the large Egg that Cooper is currently carrying…
Breathing a heavy sigh of relief Cooper steps through the Chicken Shed door and back into the moonlight, the heavy Egg rests on his shoulder as Ol’ Edna hangs at his side. Fiddlesworth smiles at the sight of Cooper emerging in one piece – and more imporantly – with Ol’ Edna still in his possession as well. The groundskeeper raises a hand to wave as an exhausted Cooper shows off the Giant Egg with a gingerly smile. “Trample my turnips!” Fiddlesworth exclaims, That be a big ‘un young master! I guess you won’ need Ol’ Edna fer the time bein’.” Fiddlesworth frees Coopers hands to handle the Egg as he examines Ol’ Edna. “I’ll take ‘er off yer ‘ands ‘an give ‘er a good wipe with me rag.” As the duo continue their banter, somewhere on the fringes of the Farmyard the bushes rustle with activity. A lone figure has popped up from underneath the fauna, his polished head beaming in the moonlight and his eyes fixated on the large Egg that Cooper is currently carrying…